Electric scooter controllers are crucial but often misunderstood components. This guide covers why controllers matter, preferable types, maintenance tips, and all you need to know for optimal scooter care.
What is an electric scooter controller?
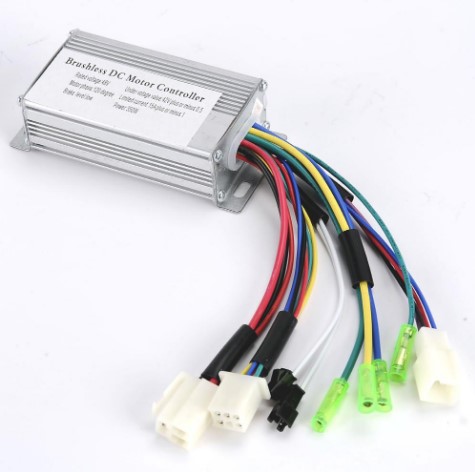
The controller acts as the electric scooter’s brain, overseeing the entire electrical system. Typically housed in a metallic box beneath the deck, often with the battery, it communicates with all electrical components to ensure smooth scooter operation. Key responsibilities include braking and regulating power from the battery to other components.
Which controller is used in an electric scooter?
Most electric scooters use brushless DC (BLDC) motors with corresponding controllers for efficient, quiet operation, ensuring smooth acceleration and braking.
Some models feature advanced inbuilt controllers with torque control and regenerative braking.
Lower-end scooters may have simpler and cheaper controllers. They will typically be less efficient and noisier than more premium options, and may result in laggy responses or jerky acceleration.
How do electric scooter controllers work?
The controller of the electric scooter manages communication between the electric components of the scooter.
It receives signals from input components like the throttle and brake through sensors, processes the information, and translates it into commands for output components such as the battery, the motor, and the electronic brakes.
Electric scooter controller functions
To get a clearer idea of how the controller works, let’s discuss some of its main functions.
Increasing the speed of an electric scooter
When you increase your electric scooter’s speed using the throttle, the mechanism sends a signal to the controller.
The controller, using a speed control algorithm, determines the necessary power adjustment for the motor based on rider input, considering factors like battery level and P-settings.
It then regulates power to the motor through pulse width modulation (PWM), adjusting the width of electrical pulses from the battery to the motor, causing the motor to speed up.
Stopping the electric scooter
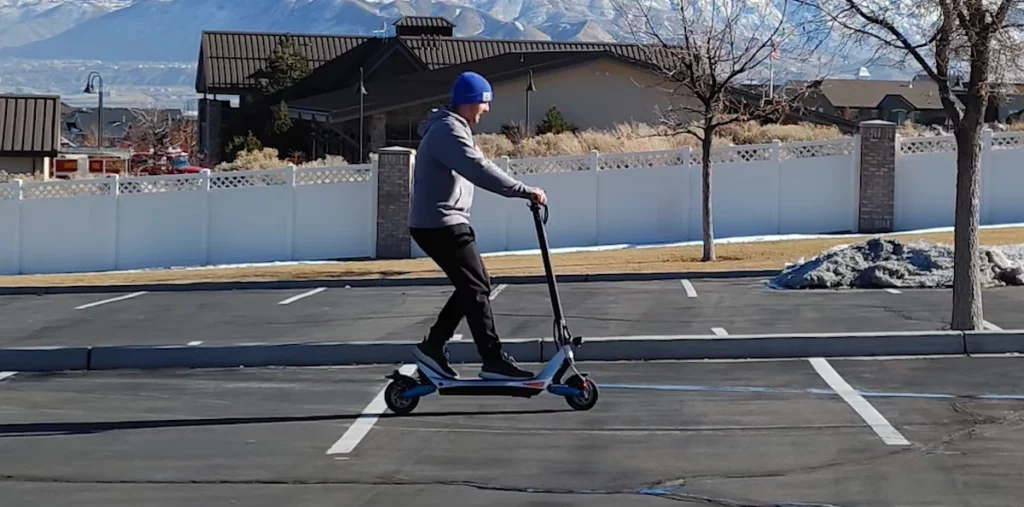
The controller cuts off power when the rider brakes.
Using the brake lever sends a signal to the controller, which, through a brake algorithm, calculates and reduces the power to the motor by adjusting the pulse width of electrical signals.
The controller ensures a smooth deceleration until the scooter stops.
Additionally, it safeguards against damage from over-voltage, low-voltage, temperature, and over-current, while managing speed in cruise control mode.
Electric scooter controller specifications
| Specification | Metric |
|---|---|
| Voltage | Volts |
| Current | Amperes |
| Power | Watts |
The specification sheet of a controller can help you determine its performance and if it is compatible with the rest of your scooter.
The most important specifications are the controller’s voltage measured in volts, current expressed in amperes, and power measured in watts.
Other details include the controller’s dimensions, weight, display type, and stored algorithms.
You’ll also find what kind of throttles the controller is compatible with and whether it supports regenerative braking.
Voltage
The most common voltages found in electric scooter controllers are 24V, 36V, 48V, and 60V.
If replacing a controller, remember to use an electric controller with the same voltage as the motor of the electric scooter to avoid damage.
So, a 24V controller should be paired with a 24V motor, while a 36V controller should be paired with a 36 V motor.
Current
Ensure the controller’s current aligns with the motor and battery. Match the controller’s current to the maximum output of the battery and the motor’s draw current.
Exceeding the battery’s maximum output may lead to damage or fire.
Aim for the controller’s current to meet or exceed the motor’s maximum draw for optimal performance.
Power
The power rating of the controller indicates the maximum power it can regulate to the motor as output.
Match the controller’s power rating to the motor’s for compatibility. Using a controller with a lower power rating than the motor can damage the controller.
What are the different types of electric scooter controllers?
Here are some common types of controllers found in electric scooters and how they compare to each other.
Brushed DC vs Brushless DC controllers
Brushed DC controllers are designed to work with brushed DC motors.
Brushed motors use brushes on the commutator to power the motor’s windings, enabling forward movement. A brushed DC controller controls the motor’s direction and speed by regulating the power of its brushes.
These controllers are simpler than brushless DC (BLDC) motors, so they are cheaper and mostly found in low-performance electric scooters.
BLDC controllers match exclusively with BLDC motors, utilizing electronic commutation with a permanent magnet instead of brushes.
They are more efficient, quieter, and demand less maintenance compared to brushed DC controllers.
However, their advanced circuitry and algorithms make them pricier.
Sine wave vs square wave controllers
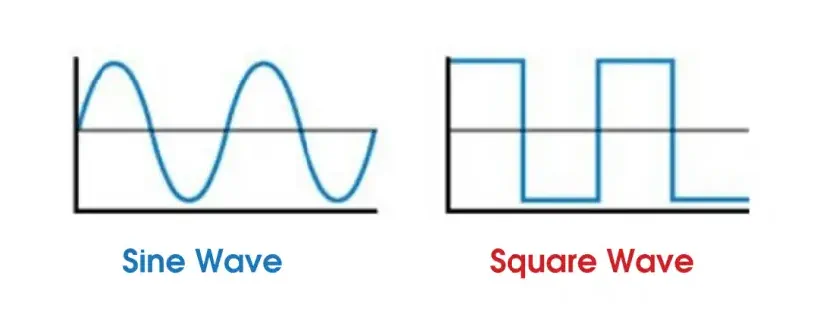
Electric scooter controllers commonly use sine waves and square waves to drive the motor.
A sine wave controller produces smoother and more consistent power outputs compared to square wave controllers. This results in increased efficiency, stability, quieter operation, and improved torque control.
While pricier than square wave controllers, the high performance of sine wave controllers justifies the investment, in my experience.
Square wave controllers use less smooth square waves for motor drives, resulting in lower efficiency, more noise, and a lower cost compared to sine wave controllers.
They also generate more heat, impacting the longevity of both the controller and motor.
Programmable controllers vs integrated controllers
Programmable and integrated controllers differ in complexity and customization. Integrated controllers, ideal for entry-level electric scooters, are pre-programmed and user-friendly.
Their simplicity makes them more affordable than programmable controllers.
Electric scooter programming controllers can be a real game changer for your electric scooter’s performance because they provide flexibility with a wide range of customization and modification options.
This allows manufacturers to program in specific algorithms and adjust parameters like torque and speed according to the design of the electric scooter.
These controllers provide superior efficiency and performance compared to integrated ones, but they are pricier and more complex, and programming them requires expertise.
Smart controllers
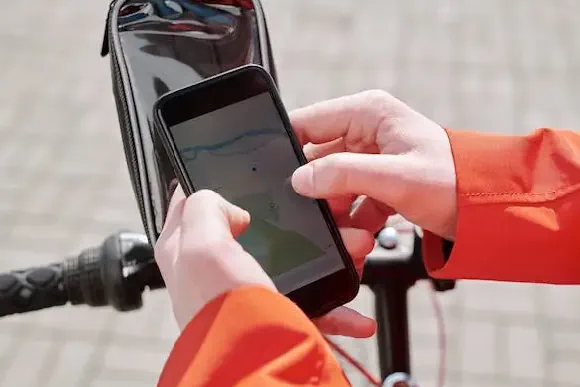
Smart controllers surpass traditional ones by utilizing the Internet or Bluetooth for communication with other devices. They can connect to GPS for movement tracking and offer advanced features such as remote locking.
Equipped with high-tech sensors like gyrometers and accelerometers, these controllers precisely calculate and adjust the scooter’s position and motion for smoother operation.
They can swiftly identify and troubleshoot issues, saving time and money.
While pricier, their advanced features and sophistication make them a worthwhile investment.
Where are electric scooter controllers stored?
Controllers find homes in a multitude of spaces, but the deck, stem, and kickplate are the most frequent hiding spots.
Deck
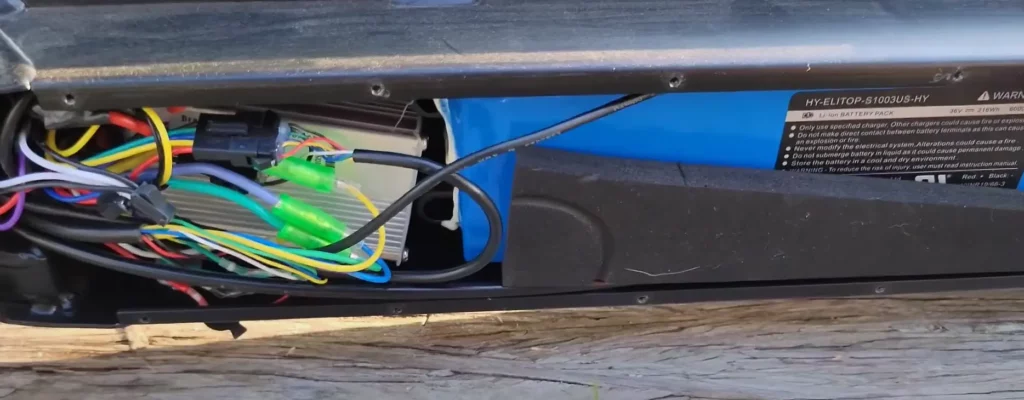
Scooter controllers are typically stored in or under the deck, especially if the battery is also located there.
Since the deck offers ample space, there’s no need for extra housing or frame modifications.
However, the enclosed nature of the deck can pose temperature control challenges. To address this, some manufacturers attach the controllers underneath the deck to benefit from air circulation for cooling.
Stem
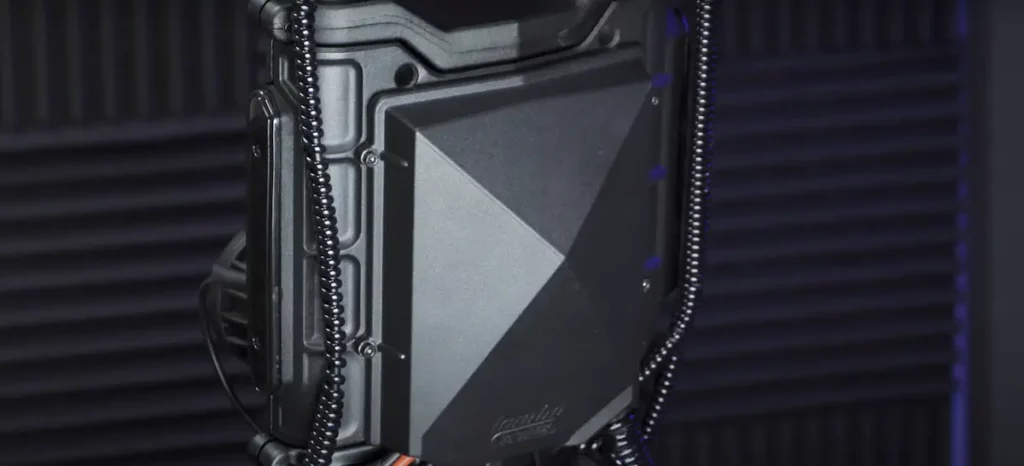
Scooters with stem-stored batteries often house controllers there too due to the widened stem accommodating both.
The dedicated stem-mounted controller box creates extra deck space for larger batteries and benefits from natural air cooling.
However, thicker-stemmed scooters may be less portable when folded.
Kickplate
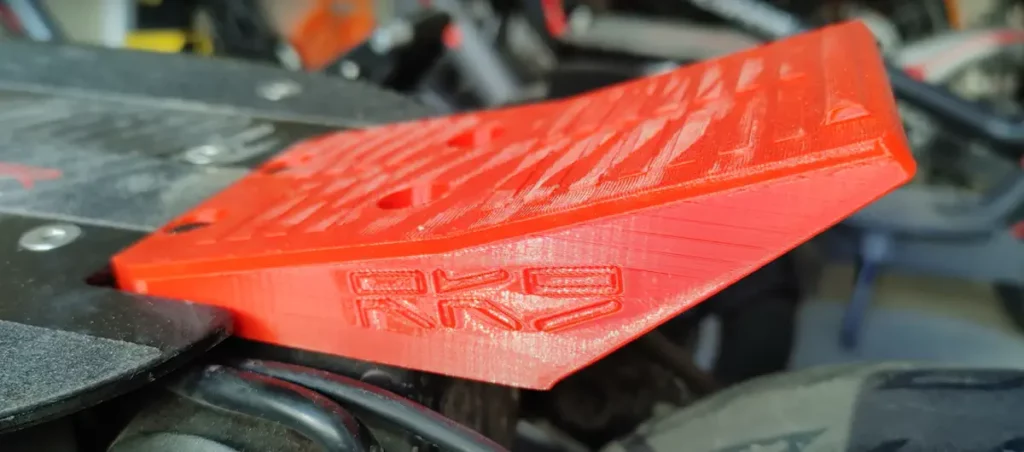
For scooters with either a compact deck or a sizable battery, manufacturers might integrate the controller into the kickplate.
This placement ensures easy access for replacement and minimizes the necessity for lengthy connecting wires by keeping the controller close to the battery.
What is the best electric scooter controller?
The ideal electric scooter controller depends on the rider’s desired performance.
Yet, some controllers stand out for superior performance.
The VESC (Vedder Electronic Speed Controller) is an open-source and programmable controller compatible with many sensors, motors, and batteries.
It can be programmed using open-source software of the same name, which can be used on Windows, Mac, or Linux.
The controller employs FOC (Field Oriented Control) technology, offering smoother and more efficient output compared to traditional pulse width modulation.
VESC provides precise control over your electric scooter’s parameters.
The only downside is that you’ll need technical knowledge to program it.
Can you add a more powerful controller?
In the scooter design phase, components, including controllers, are selected to align with the motor and battery requirements. This ensures that the existing controller optimally complements other components.
Swapping it for a more powerful version poses a risk of severe damage, potentially causing the burnout of electrical components in your scooter.
What is the price of an electric scooter controller?
Electric scooter controller prices vary based on design complexity and circuit component quality. Basic low-end controllers range from $10 to $20 but may lack reliability and efficiency.
Mid-range controllers are priced between $30 and $100, and offer good quality without excessive complexity.
Depending on its features, a high-quality controller with advanced technology can cost you between $200 to $500 or even more.
The cheaper price tag can be tempting, but I recommend investing in a high-quality controller coming from a reputable brand. Their controllers may be more expensive but they will have longer lifespans and ensure better performance for your electric scooter.
How to maintain the controller on my electric scooter?
If your controller malfunctions, contact the manufacturer for repairs.
Avoid tampering with complex circuitry without proper knowledge and expertise. Signs of a damaged motor include slow acceleration, a burning smell, regenerative braking issues, and the scooter not turning on despite a full charge.
Though repairing a controller without technical expertise and tools is unlikely, you can enhance its lifespan with the following maintenance tips:
-
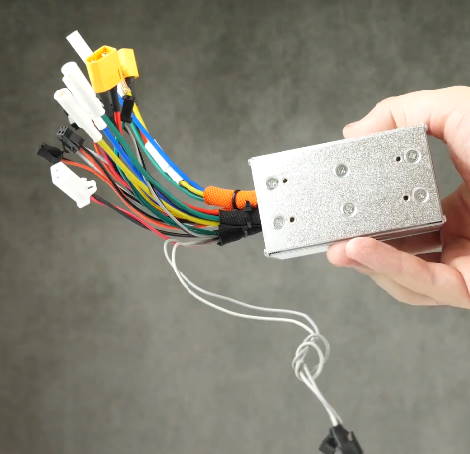 Keep it dryKeep the controller dry by not riding your electric scooter through puddles and in the rain.
 -
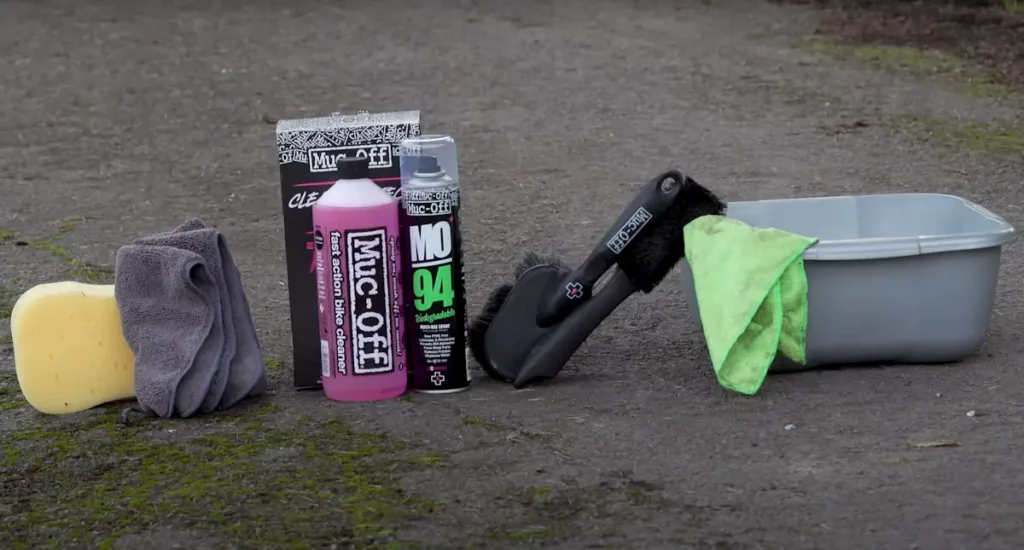 Clean itRegularly clean your scooter with a microfiber cloth and a soft-bristled brush to get rid of any dust or dirt.
 -
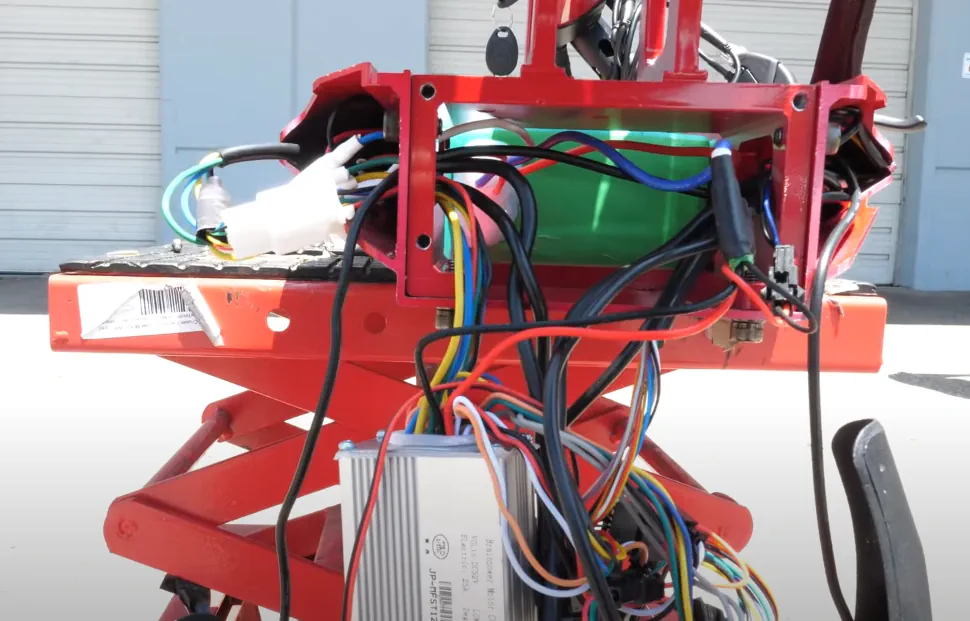 Inspect wiringInspect the controller’s wiring from time to time for any tearing in the outer covering.
 -
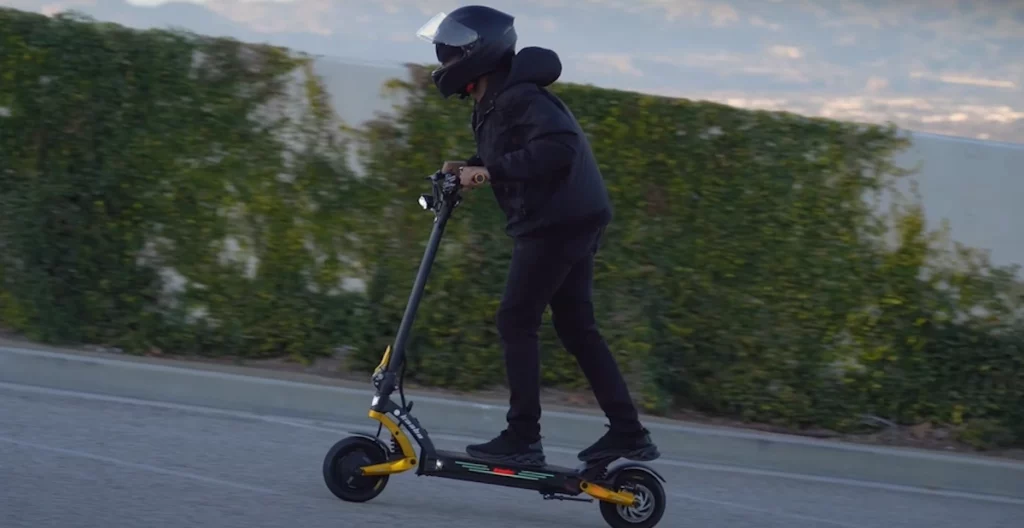 Prevent overloadingDon’t overload your scooter by riding on hills steeper than it is designed for.
 -
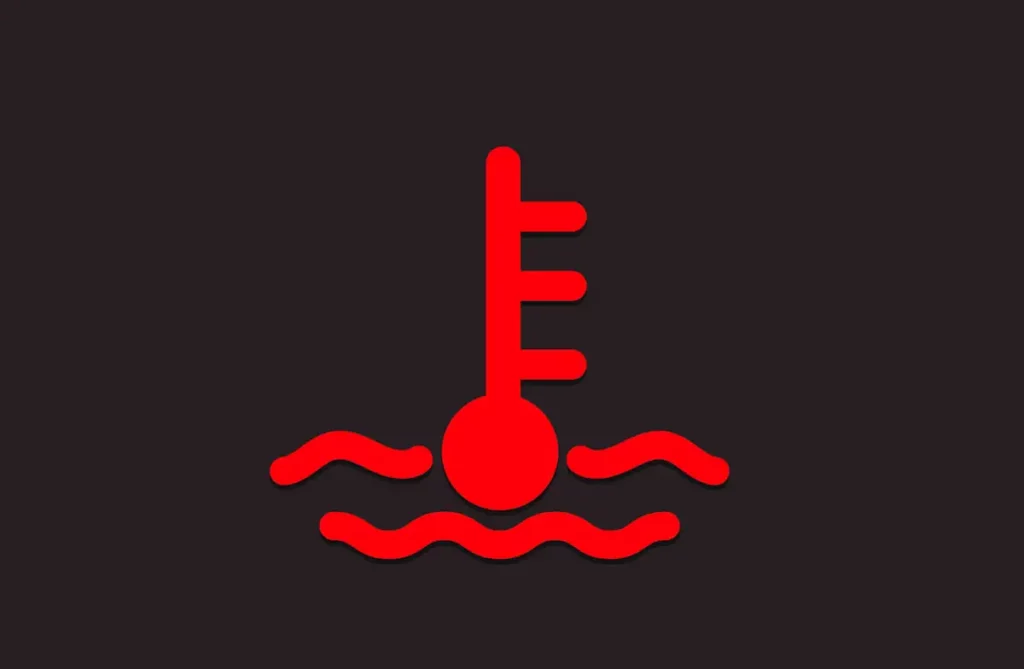 Prevent overheatingPrevent controller overheating by avoiding excessive scooter use and ensuring good ventilation. If it heats up, turn off the scooter and let it cool.
 -
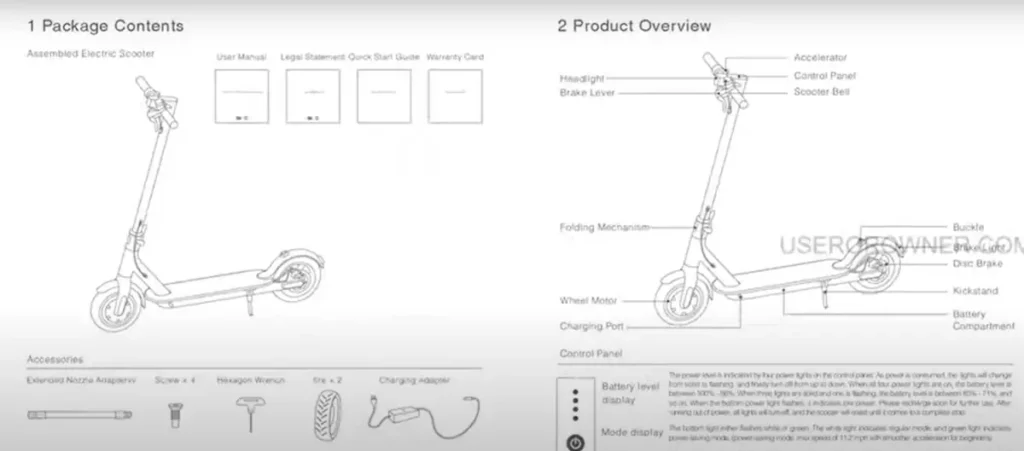 Follow instructionsAlways follow the instructions in the user manual on how to use your controller, and always use the manufacturer’s provided charger.
How do you replace an electric scooter controller?
If your controller is showing the following signs, it may be time to replace it:
- The controller is physically damaged
- You’re getting no response
- It’s supplying inconsistent power to the motor
To replace a faulty controller with a new one, you can follow these steps:
-
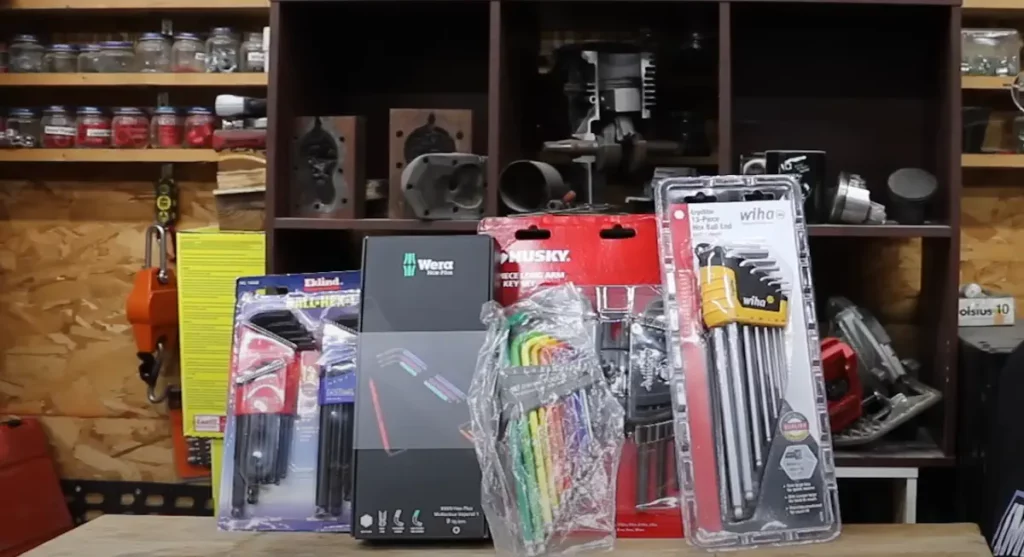 Needed toolsGather the necessary tools to open up your electric scooter, like suitable Allen keys and screwdrivers.
 -
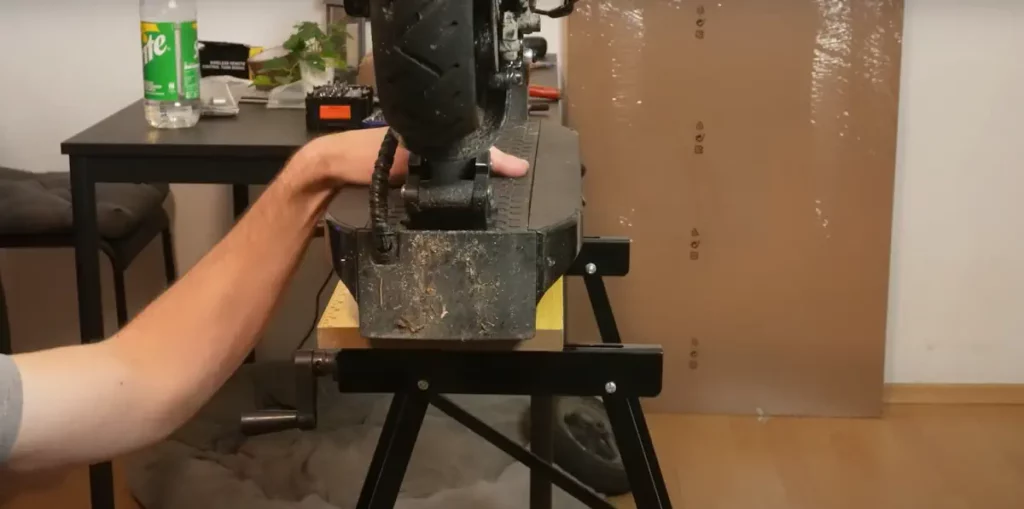 Elevate scooterElevate your electric scooter for a clear view and easy access to the controller on the underside.
 -
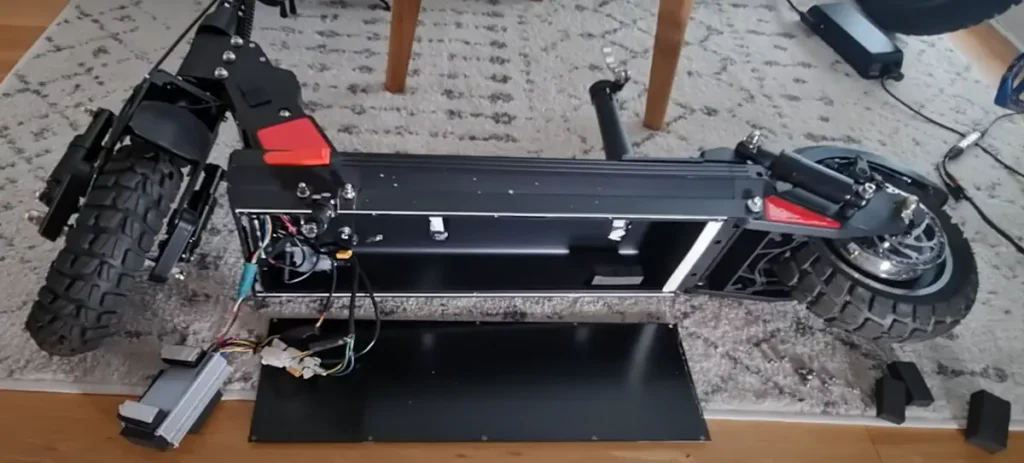 Unscrew and remove coverMost controllers are fitted under the deck or the back of an electric scooter near the battery. Unscrew the battery cover and remove it.
 -
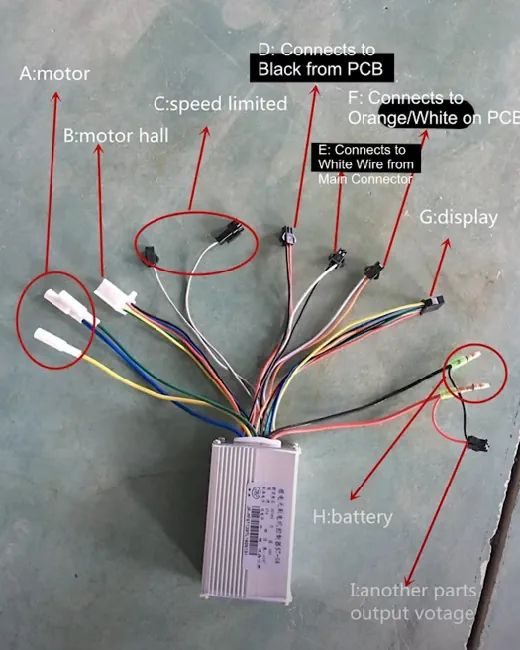 Disconnect old controllerDisconnect the old controller from other scooter components. Label the disconnected wires for easy identification when installing the new controller.
 -
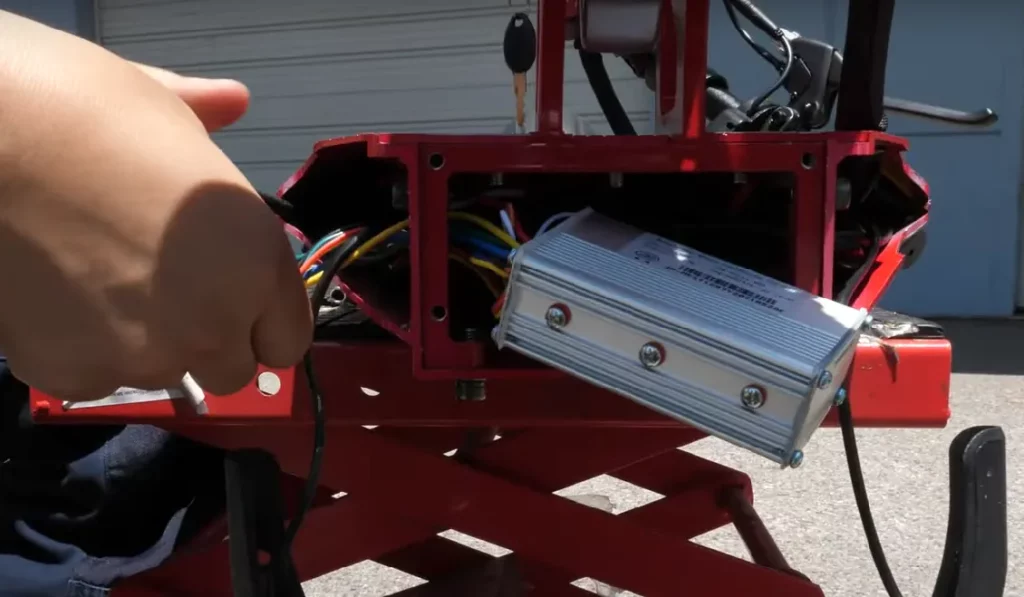 Install new controllerRemove the old controller and install the new one in the same location by screwing it in.
 -
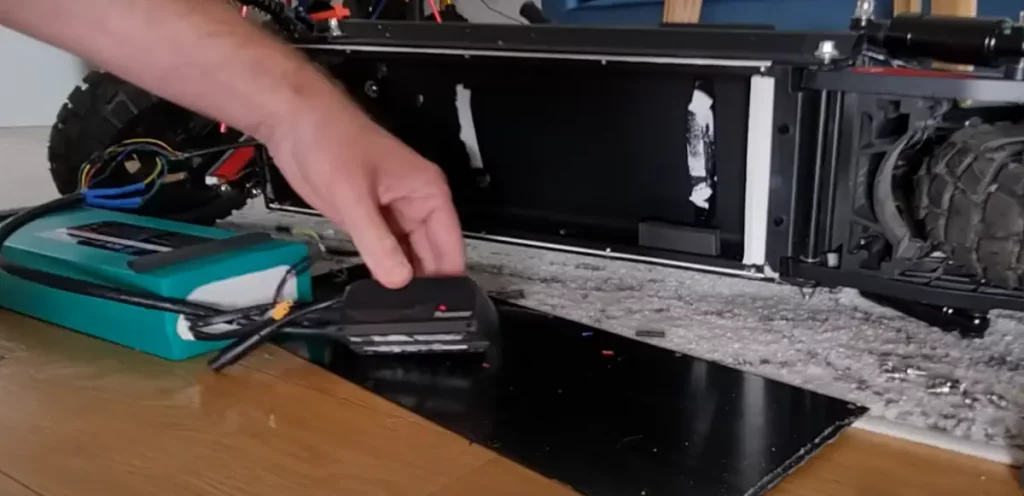 Connect wiresConnect the controller wires to the corresponding ones of the electric scooter components.
 -
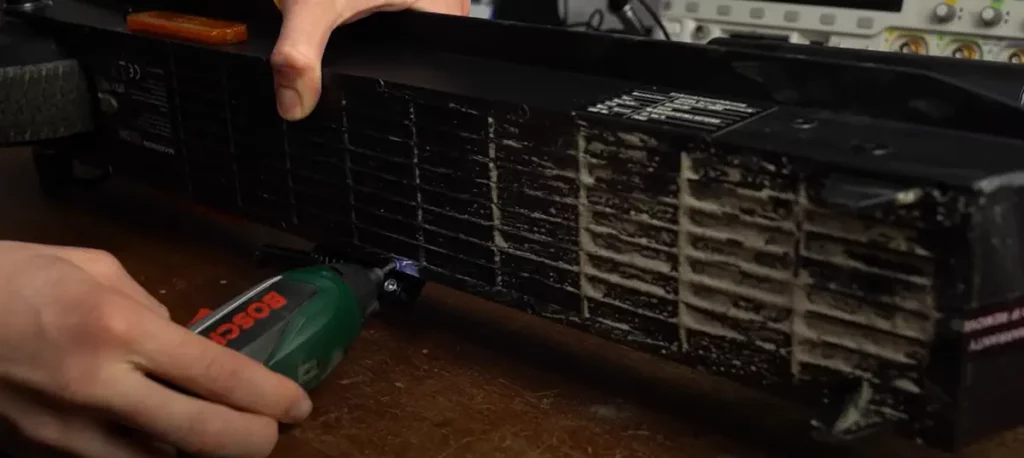 Check connections and screwDouble-check the connections with a circuit diagram, if you have one, and screw the cover back onto the underside of the scooter.
 -
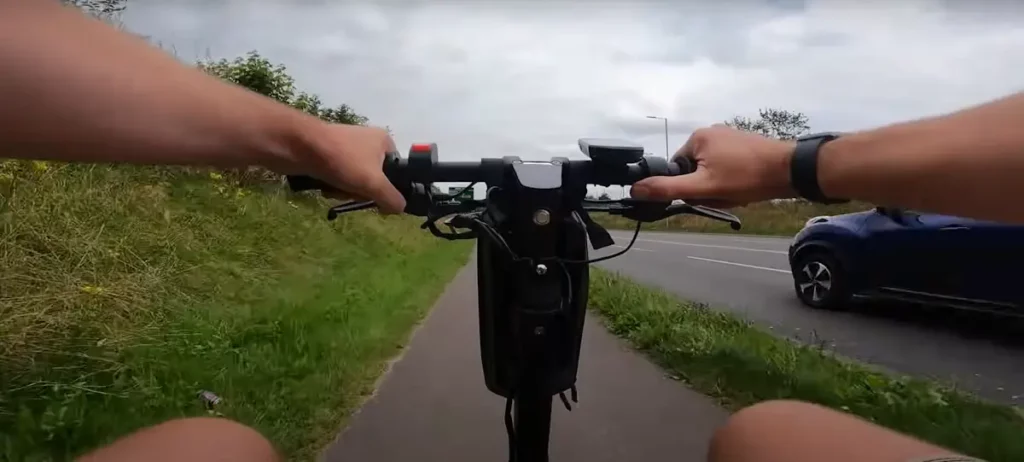 Test controllerTest whether the controller works correctly and responds appropriately to user inputs.
You can also use this video as a visual reference to help you out.
How do you test an electric scooter controller?
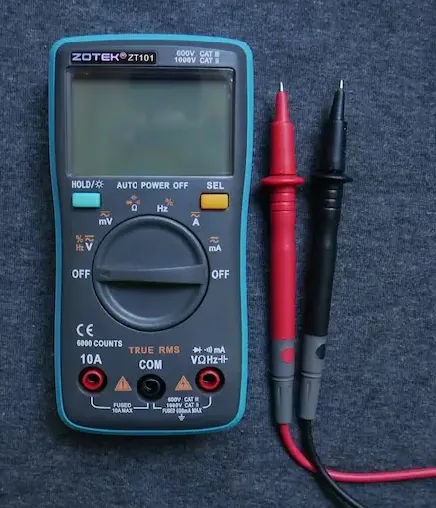
To test if the controller is working correctly and responding appropriately to user input, follow these steps:
- Check if the controller speeds up when you use the throttle to accelerate your electric scooter.
- Next, test the controller by applying the brakes. If the wheels stop, it means the controller is working.
- Place the electric scooter upside down on an elevated surface and remove the battery cover from the underside.
- Disconnect the battery from the controller and check its terminals with a multimeter to ensure the correct voltage range, confirming the battery isn’t causing issues.
- Utilize a continuity tester to identify break-ins between the controller and other components, which may indicate controller issues.
- Measure the controller’s output voltage across the motor leads with a multimeter. Apply throttle and check for voltage changes. If the value increases with throttle, the controller is working correctly.
If you’re not confident doing these tests yourself, you can always have a professional do them instead.


