Want to remove the speed limiter on your electric scooter? Despite appearing modest, many scooters, even affordable ones, are intentionally speed-limited by the manufacturer, allowing them to go much faster than indicated due to a speed limiter.
In this guide, we will examine the best ways to remove your scooter speed limit in a safe and easy way.

Electric scooter speed limiter and removal
There are three methods to remove the speed limit: overriding it in the display menu, modifying the controller, or replacing the controller with a new one that doesn’t have a speed limiter on it
How to remove the speed limiter on your electric scooter?
For thrill-seekers wanting to go faster on their electric scooters, here are three ways to remove the speed limit.
Before we continue, know that modifying your electric scooter’s top speed can void the warranty as it involves invasive changes to the scooter’s internals.
While usually a simple and harmless procedure, removing the speed limit can lead to potential issues, leaving you with a malfunctioning scooter without warranty coverage.
Carefully weigh the risks before proceeding.
The simplest method to remove the speed limiter is by overriding it through the hidden settings menu on the display.
However, not all scooters can be bypassed this way, but for those who can it’s a straightforward process.
The specific buttons that need to be pushed will vary from one model to another.
-
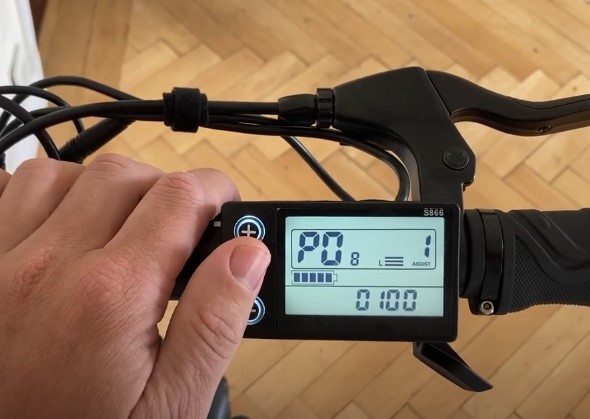
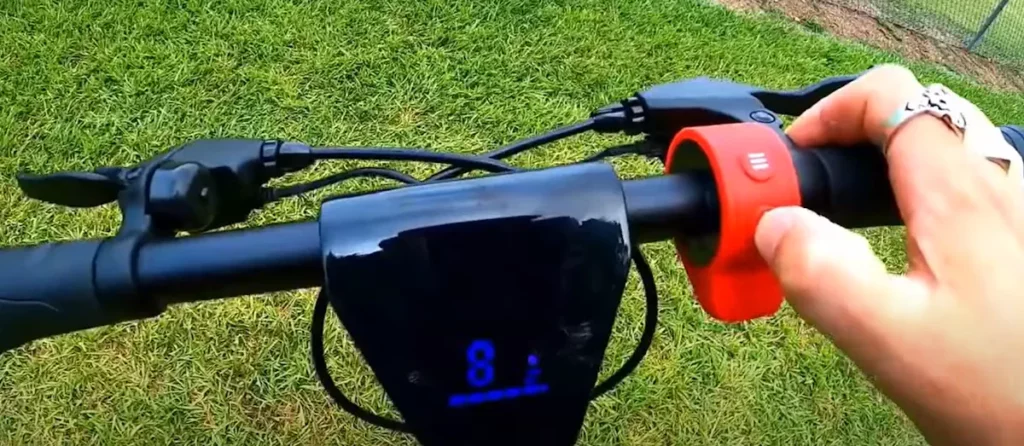 Turn the display onYou need to turn the display in the cockpit ON so you can access the settings of the scooter.
 -
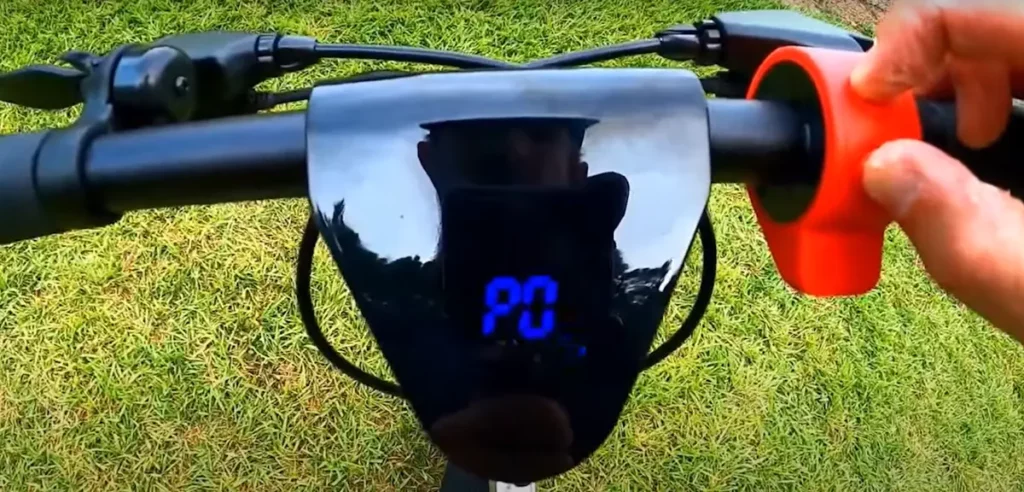 Open the P-settings or “hidden” settings menuFinding the P-settings or “hidden” settings menu will vary from scooter to scooter, I advise checking out model-specific tutorials or user manuals.
 -
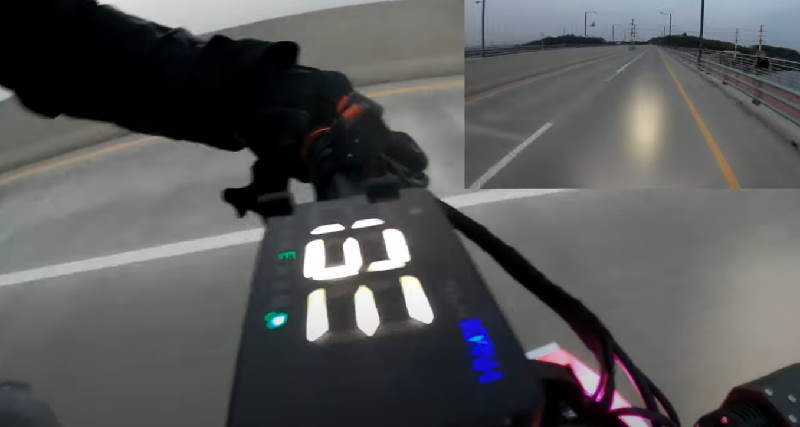
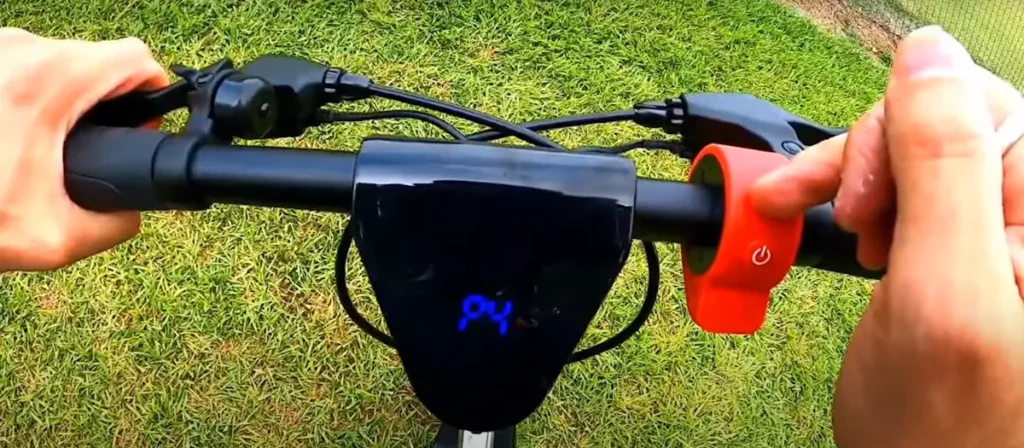 Navigate to the “speed limit” pageOnce in the P-settings menu, navigate to the “speed limit” section, typically marked by two or three digits alongside mph or km/h.
 -
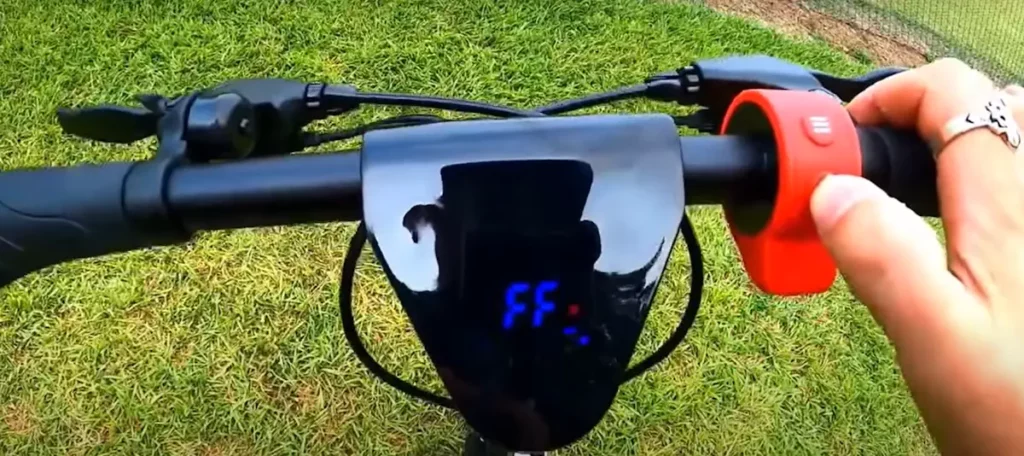 Increase the limit to the maxThe hidden menu limits speed between 50 and 70, up to 100(often FF). It’s a percentage of max speed. Remove the limit by setting it to 100, exit the menu, and restart the scooter.
Overriding the speed limiter via the display is the easiest but not universally applicable method. Most scooters have the limiter as a separate device inside the controller, making it more challenging to override.
In these cases, you can replace the controller with one without the limit or modify the existing controller.
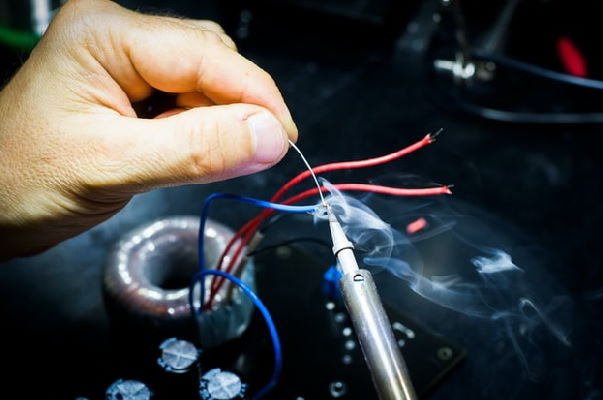
Remove the speed limiter by physically modifying the controller
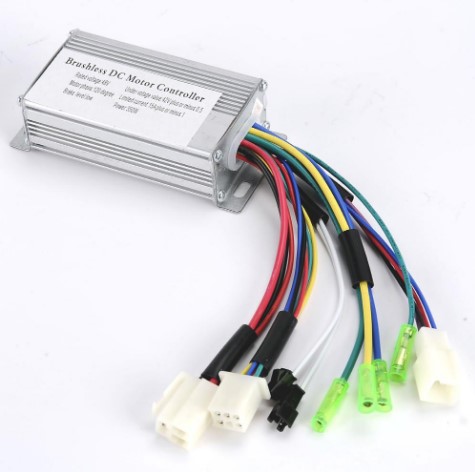
A controller is an electronic circuit near the battery that governs the scooter’s speed by connecting the throttle to the battery and regulating current flow to the motor based on your throttle input.
It’s essentially a set of wires, with each wire serving a specific function, and removing one won’t disrupt the entire circuit.
And this is where our second trick comes in.
The most cost-effective method to remove the speed limiter is by physically modifying the controller, which involves removing specific wires.
-
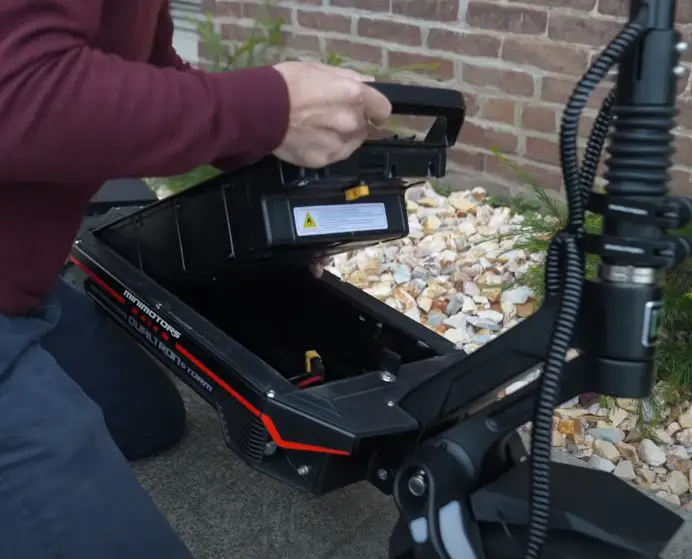
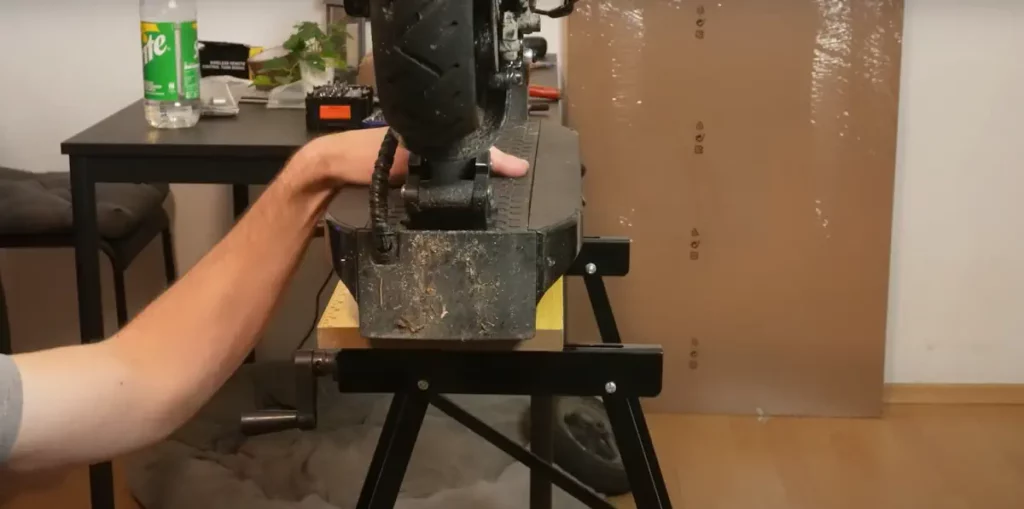 Open the part of the scooter where the controller is storedOn most scooters, the controller will be stored below the deck, right beside the battery, so the first step is to open the cover from this part of the scooter in order to expose the electric parts inside.
 -
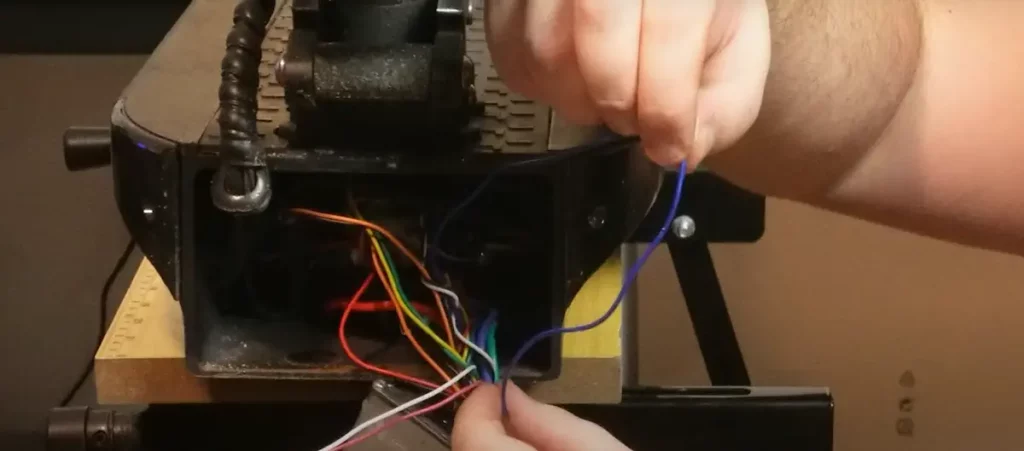
 Find and remove the controller unitAfter opening the scooter’s frame, locate the controller— a small rectangular metal piece with about a dozen wires. It may be tucked inside, requiring you to pick it out to expose all wires. Take a picture before removal for reference on reconnection.
 -
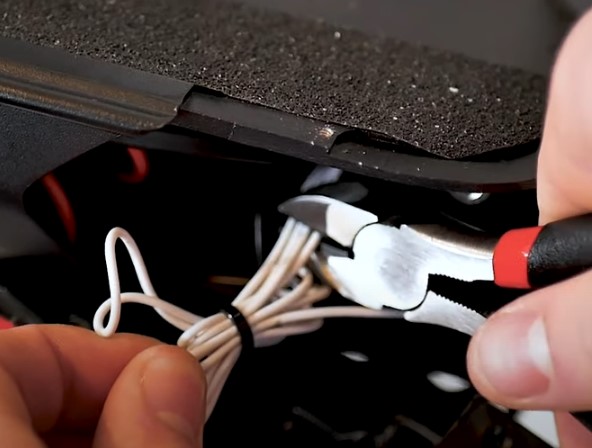
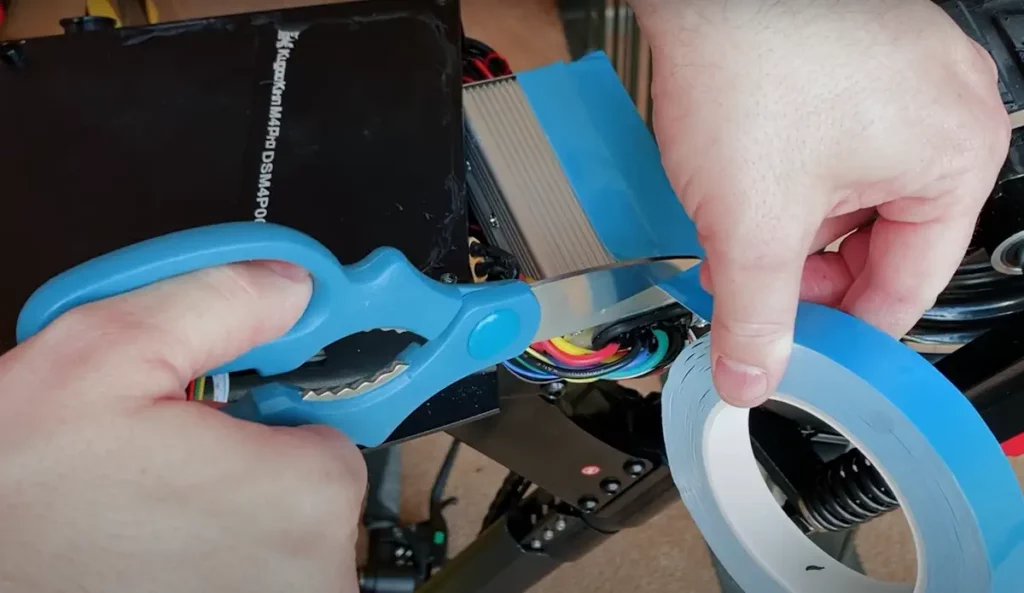
 Find the wire that controls the speed limiterExpose all wires connected to the controller, crucial for the third step: identifying the speed limiter wire. It’s usually white or a very light color, placed farthest at the end of the wire array. Some scooters have 4 white (or light-colored) wires glued together for easy identification.
 -
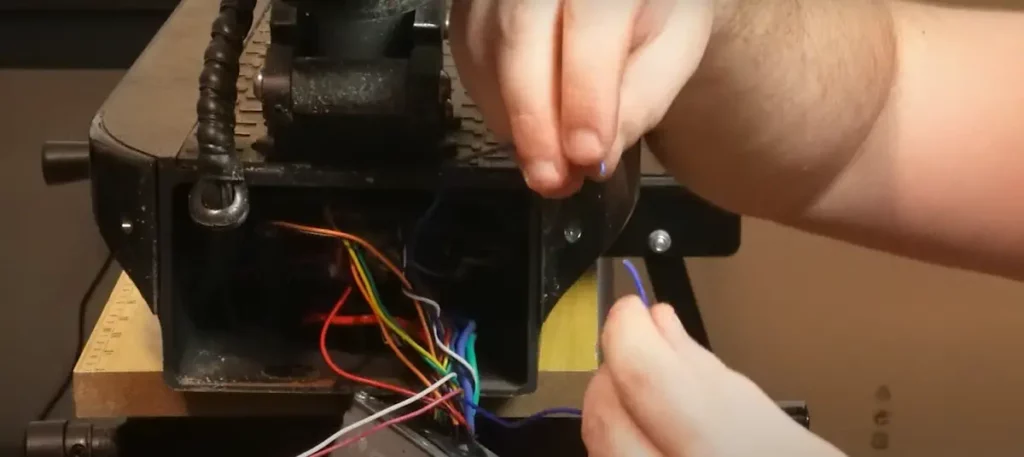 Disconnect the wireWhen you find and identify the speed limit wire, disconnect it. For most controllers, unplug the wire. If there are no plugs and wires are directly attached, cut the wire, keeping a few considerations in mind. Also, remember to turn off the scooter when charging or connected to an electric outlet. Ensure it’s fully off before handling electric parts. Always cover wires with an isolator to avoid leaving them exposed.
 -
 Put the controller (and the battery) back in placeAfter addressing the speed limiter, reconnect and put the controller back in place. Use the picture from step 2 to guide you, plugging any wires back into the controller and reconnecting it with the scooter’s other electric parts.
Removing the speed limit wire from the controller is a complex task that demands a technical understanding of the scooter’s electrical components.
If you lack prior experience with electrical work, especially involving wire cutting, it’s not advisable to attempt this on your own.
Here is a video of Survival Master going step-by-step through the process.
Remove the speed limiter by replacing the controller
The third method for removing the speed limiter is somewhat safer than the previous one because it doesn’t require wire cutting.
However, it can still be challenging. It entails purchasing a new controller without a speed limit wire and replacing the factory controller with it.
Before proceeding with the details, be aware of a couple of issues with this method:
- One, unlike the previous two methods which are free of cost, this one involves spending a bit of money on a new controller
- Two, some companies restrict their scooters to work only with official, brand-approved parts, so there is no guarantee that the scooter will work without its factory-set controller
If you want to remove the speed limiter on your scooter without altering the old controller and explore its full potential, follow this method:
- Step 1 and Step 2 are the same as with the previous method – open the part of the scooter where the controller is stored and access it.
- Step 3: Disconnect the controller by unplugging all of the wires – unplug all of the wires and completely disconnect the controller from the scooter so you can remove it.
- Step 4: Install the new controller – once you’ve disconnected and removed the old controller, it’s time to connect the new one. Plug all of the wires (remember, the new controller should come without a white speed limit wire) into the designated ports, matching the colors of each wire with each port.
- Step 5: Put everything back in place – put the new controller back where the old one was and close the scooter up.
What is a speed limiter?
A speed limiter is a basic safety feature found on many electric scooters.
Its sole purpose is to restrict the scooter’s maximum speed. It can be a physical device attached to the scooter’s controller or a software feature that limits the motor’s power.
On most electric scooters, especially budget models, the speed limiter is a basic wire that controls the controller’s power output and, in turn, the motor speed.
It can be easily bypassed by disabling it in the scooter settings, removing the controlling wire, or disconnecting it from the device.
Why do companies limit the power of your scooter?
Electric scooters have speed limiters primarily for legal reasons. They aim to adhere to local traffic laws with speed limits in place, ensuring legal compliance.
Additionally, these limiters enhance rider safety, as electric scooters can be hazardous if used improperly. Riding an electric scooter above 20 mph / 32 kmh can lead to losing control, resulting in falls and injuries.
This risk is higher for younger or inexperienced riders. Most scooters can easily surpass this speed on open roads or downhill, so caution is essential.
Possible problems with removing the speed limiter from your scooter
As previously mentioned, removing the speed limiter from your scooter can be highly risky and lead to serious consequences.
Damaging the scooter beyond repair
The biggest problem that can happen while modifying your scooter is to damage some of the parts beyond repair.
This can easily happen to the scooter’s controller, the battery, and the motor as these parts would all be involved in the process.
Some of the possible scenarios involve connecting the wires wrong, causing a malfunction of the battery, or leaving the end of a cut wire open, causing a short circuit.
Overwhelming the scooter’s build
Riding above the max speed set by the company can also put a much more significant burden on the scooter’s frame and wheels if it hasn’t been made for such high speeds.
Many brands are well aware that their scooters can go much faster than what they’ve limited them to, but restrict their top speed anyway to preserve the lifespan of the scooter.
Reduced braking efficiency

Reduced braking efficiency can significantly compromise the safety of a scooter, increasing the stopping distance and making it harder to control the vehicle in emergency situations.
This issue can manifest in various ways, such as overheating brakes and brake fade, which can lead to a sudden loss of braking power.
Reduced battery life
Operating at higher speeds demands more energy from the battery, leading to faster battery drainage, reducing the scooter’s range, and requiring more frequent charging.
Voiding the warranty
Modifying your scooter yourself voids the manufacturer’s warranty, leaving you responsible for any repairs. Mistakes during the process can add to the cost of the repair.
Other ways to increase the speed of your scooter
Removing the speed limit can be thrilling but unsafe. Consider trying other methods to enhance your scooter’s power before modifying its parts.
See my complete guide on how to speed up your scooter for all of the tips.
Shift the scooter to the highest gear
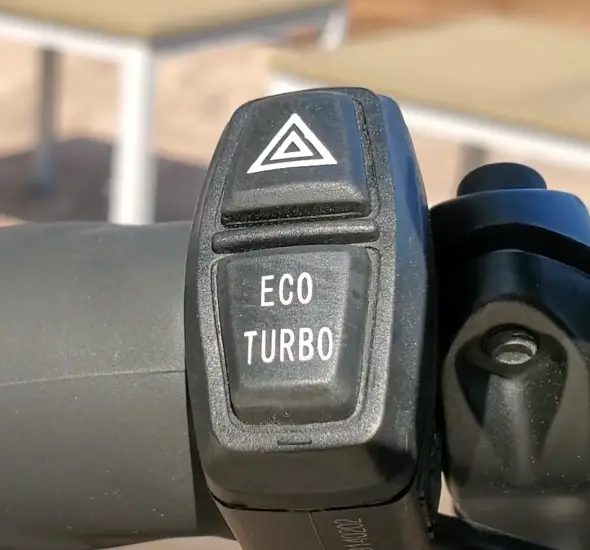
Many new riders are unaware that their scooter typically has multiple riding gears with varying top speeds.
Even budget scooters often offer two or three-gear options, which are initially set to conserve battery and provide an economical ride at a moderate speed.
Consult your user’s manual to learn how to shift the scooter into a higher gear, potentially unlocking more power.
Swap the built-in battery for a higher-voltage battery
Swapping or modifying the controller can be challenging, but changing the factory-set battery for a more powerful one is simpler.
However, not all scooters have swappable batteries, and the ones that do are usually pricier.
You can replace the built-in battery in a similar way to the controller, but be aware that it comes with some risks, just like replacing the controller.
Ride with a full battery
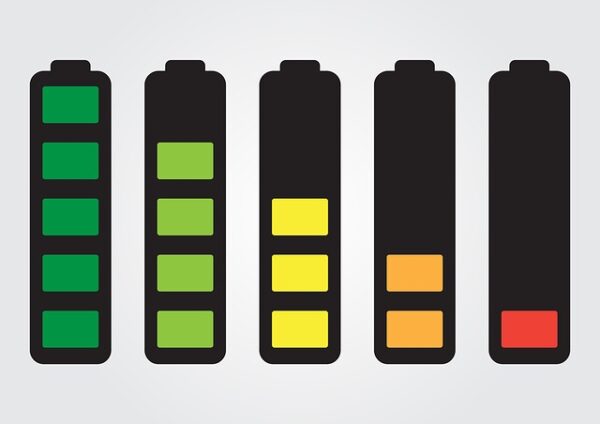
To ride your scooter at maximum speed, ensure you start with a fully charged battery.
As the battery level decreases, it provides less energy to the motor, leading to slower performance. To maximize your scooter’s speed, begin with a full battery.
Electric scooters are not designed to reach speeds of 100 mph. They are typically designed for urban commuting and have top speeds ranging from 15 to 82 mph, depending on the model.
A speed of 15 mph is not considered too fast for an electric scooter. In fact, many electric scooters have a top speed in this range, and it is a safe and practical speed for urban commuting and short-distance travel.
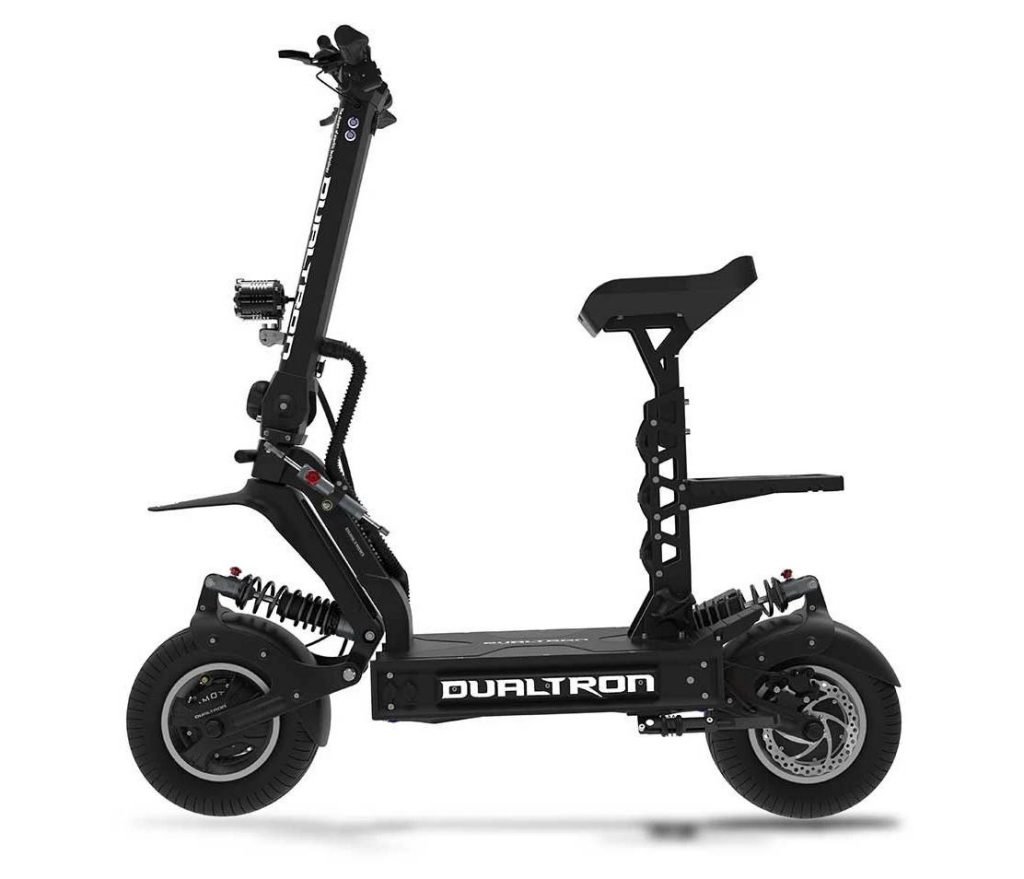
The electric scooter with the highest speed may vary over time as new models are introduced. Some of the fastest electric scooters available include the Weped SST with a top speed of around 82 mph and the Dualtron X with a top speed of around 75 mph.
The speed of a 120W electric scooter would typically be around 7-12 mph. The speed of an electric scooter is influenced by factors like the motor power, battery capacity, and design. A 120W electric scooter is generally designed for kids or lightweight riders and is not meant for high speeds.

