To keep your scooter cruising smoothly and hassle-free, it’s crucial that all its parts work seamlessly.
In this article, I’ll outline the essential electric scooter maintenance steps for keeping your scooter in top condition.

What maintenance do electric scooters need?
To keep your electric scooter in good shape, remember three things: take care of important parts like the motor, battery, tires, and brakes; regularly check for loose parts and screws; and don’t forget to clean it.
Why is e-scooter maintenance so important?
Regular maintenance extends your electric scooter’s lifespan, ensuring it’s always ready for your next ride.
Weekly check-ups help catch potential defects and failing parts early, preventing unexpected issues during a ride. Replacing a faulty brake cable before it wears out can prevent accidents.
Similarly, maintaining properly inflated tires prevents trouble, especially when their treads wear off.
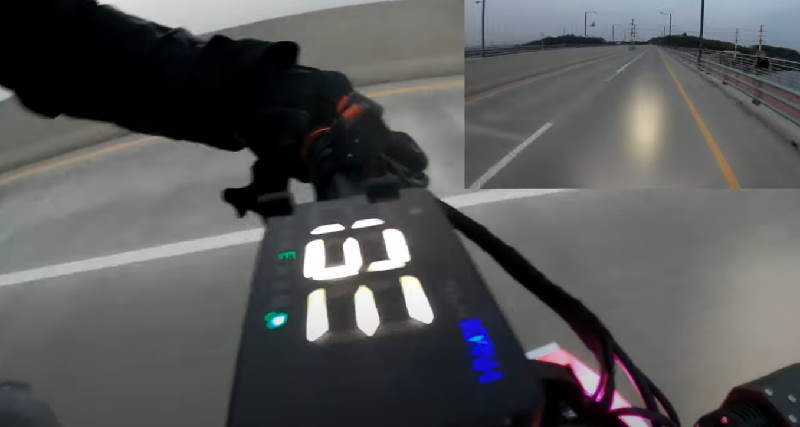
A well-preserved scooter provides improves performance; a healthy battery yields a longer range, and well-inflated tires enhance speed.
Electric scooter maintenance checklist
Electric scooter maintenance is a broad topic and can cover several things: electric parts upkeep, tire management, screws and bolts check-ups, and regular cleaning.
The main parts are like the scooter’s core – it won’t work without them and they tend to wear out fastest. These parts are the motor, battery, wheels, tires, and brakes.
Motor maintenance
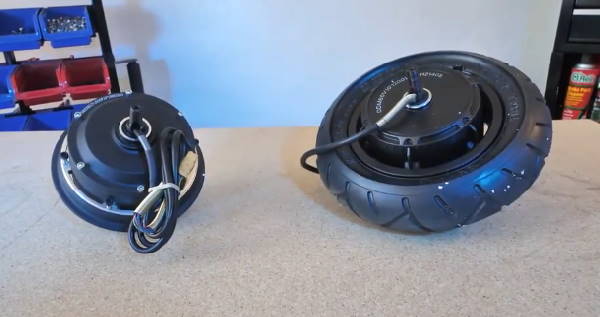
Preserving your electric scooter’s motor is simple – just shield it from potential risks and stay alert for signs of malfunction.
The primary threat to the motor is water. While some scooters boast excellent waterproofing, most lack this feature.
To safeguard your scooter, avoid riding it in the rain or through puddles. Since most e-scooter motors are wheel-mounted, there’s a high risk of water intake during rainy rides.
When navigating curbs or carrying the scooter, be cautious not to impact the wheels forcefully, as this poses a risk of motor damage. Lightly bumping the wheel into a wall is unlikely to cause harm, but excessive force could displace and potentially damage the motor.
Additionally, if you want to make sure you’re doing everything you can to protect your scooter’s electronic parts from water, check out my scooter waterproofing guide.
Battery maintenance
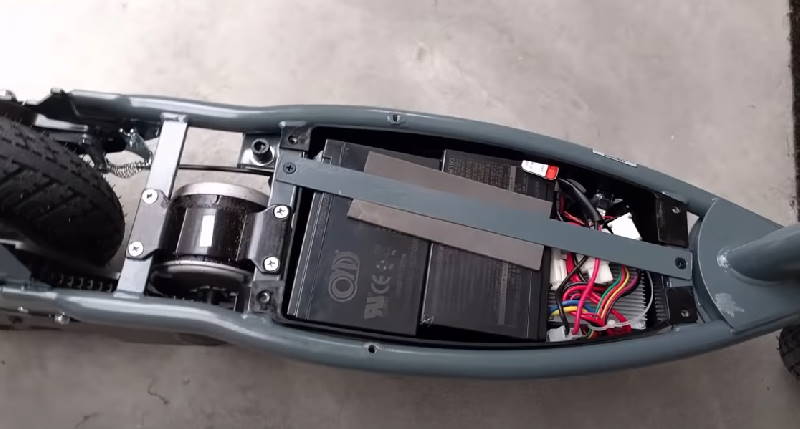
Electric scooter batteries, along with the tires, are among the parts that wear out over time. The continuous charge and discharge cycles diminish the battery’s capacity, necessitating proper care and potential replacement every few years.
The steps to preserving the battery include:
- regulating the temperature – avoid riding the scooter in freezing or extremely hot weather, as lithium-ion batteries perform optimally within the temperature range of 32°F to 113°F (0°C to 45°C).
- charging the battery properly – see my guide on how to charge an electric scooter for the exact details
- using a proper charger – premium chargers from the scooter’s brand may be a bit pricier, but they are custom-designed to meet your battery’s requirements and handle the charging process efficiently.
- avoid completely draining the battery – complete your ride with at least 15% battery life instead of draining it completely.
- avoid overcharging the battery – most modern batteries have protection from overcharging, however it’s best not to risk it and unplug your charger as soon as your battery as full.
If the battery needs replacement, it’s advisable to have a certified scooter mechanic handle the task.
If the scooter is still under warranty, the replacement should be free. Even if the warranty has expired, a new battery typically costs under $200 for budget scooters and around $500 for premium ones.
Tire maintenance
Tires wear out faster than any other part on an electric scooter, demanding the most attention and maintenance.
There are two main types: pneumatic and solid.
For pneumatic tire scooters, maintaining the correct tire pressure (ideally between 40 and 50 psi) is crucial. The recommended pressure range is usually indicated on the tire’s side near the rim.
With solid tire scooters, maintenance is less demanding, though periodic checks for damage are still necessary. The rubber can wear off over extended use or from heavy curb impacts, potentially damaging the sockets inside.
A tire is considered unusable if it’s flat, heavily punctured, or its treads are worn off.
To replace an old punctured tire with a new one, follow these general steps:
- remove the wheel from the scooter (unscrew it if it uses bolts, or loosen it if uses a latch)
- remove the tire from the wheel (do it slowly, inch-by-inch, until it has fallen off the rim)
- place the new tire on the rim (watch so the tire lays properly and place the valve in the valve socket)
- inflate the tire (if it’s a pneumatic tire)
Below is a video explaining how to change a flat tire with an inner tube, but the process is very similar for any type.
Some scooters only support a specific tire type, while others offer the flexibility to switch between pneumatic and solid options.
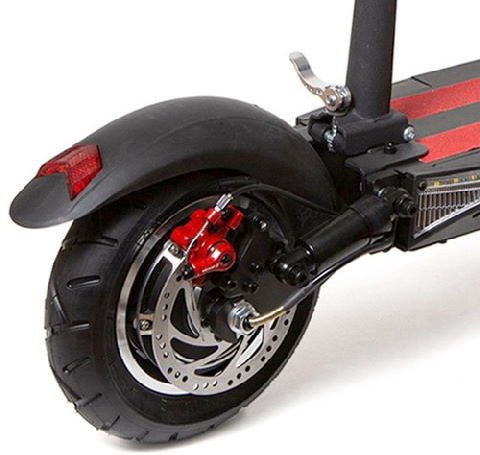
Brakes maintenance
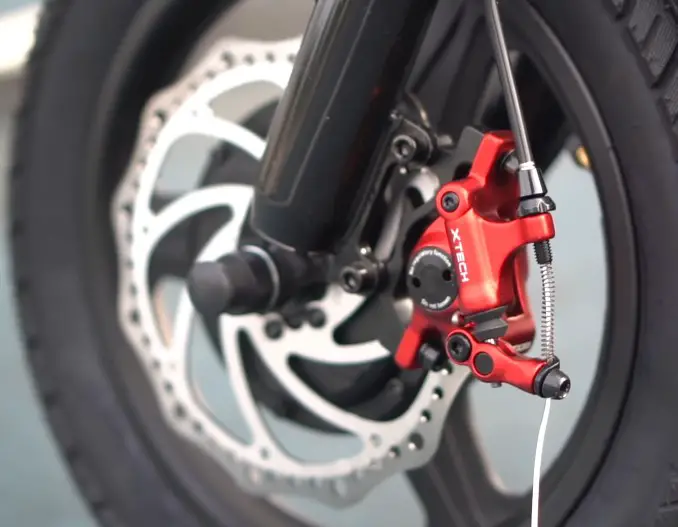
Your electric scooter’s brakes are the most critical safety feature and must be in optimal condition. Regular checks are essential.
To check your brakes, press them while the scooter is stationary, then try to push it forward. If it stays in place, your brakes are good. If the wheels move, tighten the brake cable.
The brake cable adjuster, located on the brake lever at the steering wheel, allows you to stiffen or loosen the brakes by rotating it.
Some premium scooters, especially newer models, use hydraulic brakes. In such cases, monitor the brake fluid level and refill the brake-fluid cartridge if needed.
How to bleed the hydraulic brakes on your scooter?

Brake bleeding is a crucial step in maintaining hydraulic brakes, addressing air trapped in the braking fluid that can weaken braking power and potentially damage the brake cable over time.
Among various methods, the syringe approach is the easiest and most straightforward for home use, requiring only common tools: an Allen wrench, two plastic syringes, and brake fluid.
The steps for bleeding your hydraulic brakes are as follows:
- Remove the brake caliper from the wheel – brake calipers are typically connected to the wheel’s center rim using two screws, which can be loosened with an Allen wrench.
- Remove bleeding screws from both caliper and handlebar brake lever – once the caliper is removed, open the brake liquid storage valve using the Allen wrench to unscrew the “bleeding screw” at both ends of the brake cable—on the caliper and the lever.
- Connect a half-full syringe with brake fluid to the handlebar brake lever – fill a syringe halfway with brake fluid and insert it into the open bleeding valve on the handlebars’ brake lever. Securely position the syringe upright inside the valve.
- Connect another empty syringe to the braking caliper – take the other empty syringe and connect it to the valve on the caliper in the same way.
- Press the half-full syringe first to push the braking fluid through the cable – initiate the bleeding process by slowly injecting brake fluid from the brake lever to push the brake fluid inside the cable out through the valve on the caliper. Observe any air bubbles entering the empty syringe, indicating that the brake fluid has been compromised with air.
- Press the other syringe to push the fluid back into the first one – with the syringe connected to the caliper (now containing some fluid), press it to allow brake fluid to flow back into the first syringe. Gradually transfer the fluid until no air bubbles are observed, indicating the brakes are now free from air.
- Remove both syringes, close the valves, and mount the caliper back on the wheel – when bubbles cease, confirming only clean brake fluid, your brakes are free from air. Remove syringes, reattach screws, and reinstall the brake caliper. If necessary, top up with brake fluid before closing valves, though losing a few drops is usually not an issue unless a significant amount is lost.
A few notes prior to starting this method of brake bleeding: make sure the brake lever is level with the handlebar, allowing the syringe to remain upright at a right angle and insert a brake block into the brake caliper to make sure the pads don’t squish together.
Here, the VSETT team explains this method in detail for their VSETT 10+ model, the process is also applicable to any hydraulic brakes on electric scooters.
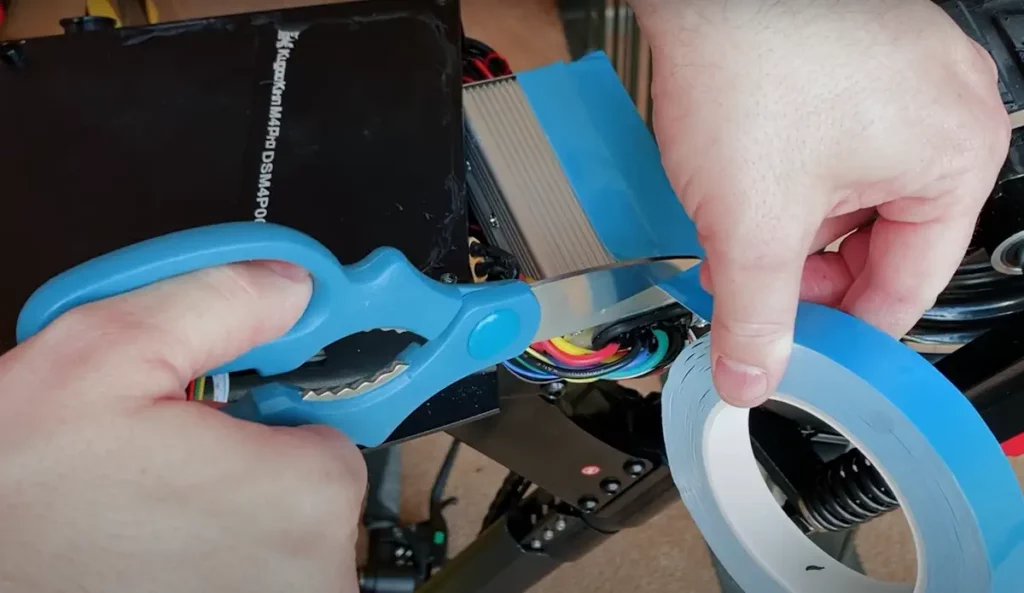
Lubricating the rotating parts
One vulnerable area on scooters is the joint where the wheel connects to the frame. This junction, where the rotating part (wheel bolt circle) meets the non-rotating one (stable rod holding the wheel), experiences friction over time, leading to wear and damage.
Regular lubrication, preferably weekly, is essential:
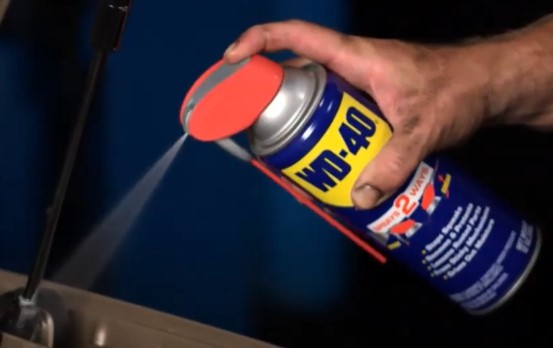
- use a towel and spray lubricant
- clean the joints by removing dust, mud, water, or any dry lubricant residue
- once the area is clean and dry, apply a new layer of lubricant using a can with a small, thin spray tube
WD-40 spray lubricant is recommended, but any suitable type with a tube opening will suffice.
Minor check-ups
Check for loose ends regularly, ideally before each ride or at least once a week, to avoid problems such as a dismounted steering wheel or stem bar while riding.
Focus on crucial areas: joints between the steering wheel and stem, stem and deck, wheel forks, and deck-securing screws.
The steering wheel usually has one or two bolts at its bottom where the stem starts – check the bolts connecting the stem to the frame’s bottom, including those related to the folding mechanism.
Wheel fork bolts are generally robust, but check them, especially after tire changes or demanding off-road rides. Tighten them fully – the same goes for deck screws.
In general, promptly tighten any screws if you notice a part has become wobbly or loose.
Cleaning the scooter
Corrosion and trapped dirt are the scooter’s main adversaries. Wipe the scooter down after each ride and perform a thorough monthly cleaning.
Before delving into cleaning tips, check your scooter’s IP rating, reflecting its waterproof capabilities. The IP rating consists of two digits, with the first indicating dust protection and the second representing liquid protection. For hosing down the scooter, the second digit should be at least 5 (e.g., IPX5, IP54).
If the scooter lacks sufficient water protection, adhere to specific rules:
- avoid using a water hose or other high-pressure devices that spray jets of water;
- use a lightly dampened fiber cloth without soap, and gently scrub the metal parts of the scooter;
- avoid touching any wires or opening electrical components (battery, controller, charging port, etc.) with a wet cloth.
Frequently asked questions
Here are some of the most frequent questions about maintaining your electric scooter.
For checking screws and the frame, keep Allen keys, a slot head screwdriver, a Philips head screwdriver, a set of wrench tools (8mm – 19mm for most scooters), and pliers. When cleaning, use a dedicated dry microfiber towel, wash it weekly to prevent dirt buildup, and be gentle to avoid scratches. For a soap wash, any sponge with a metal cleaning solution works fine.
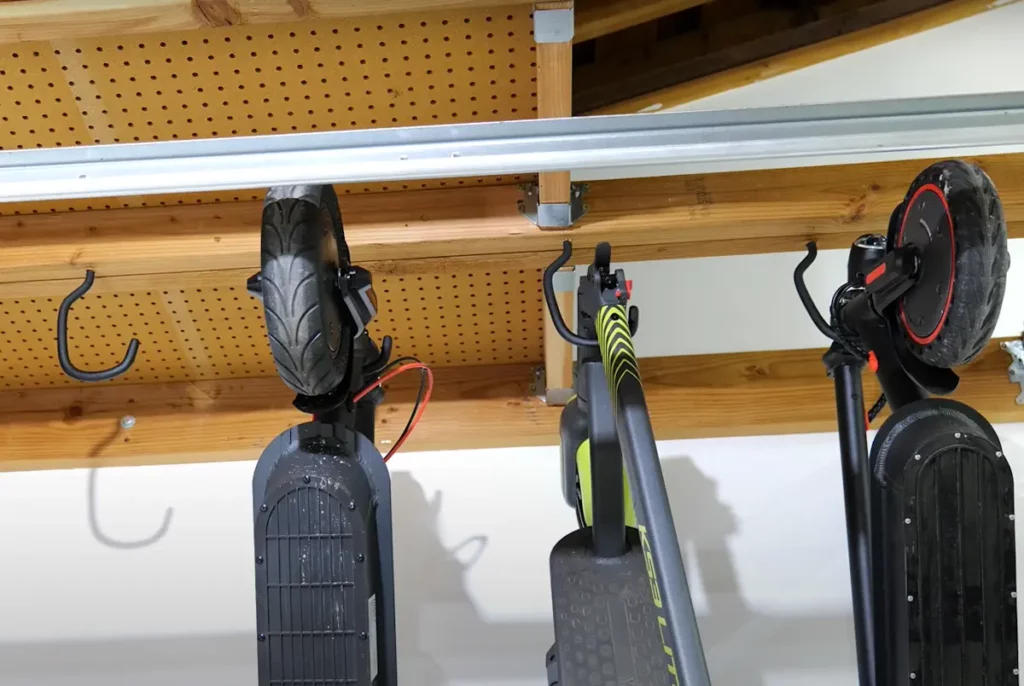
Optimal scooter storage includes closed, dry spaces like a pantry, garage, or well-isolated attic. Outdoor exposure, particularly in winter, risks corrosion from weather humidity and accumulates dirt and dust from wind. If indoor storage isn’t possible, use a balcony but cover the scooter entirely. Employ a nylon cover or consider a specialized zipped bag tailored to fit a folded scooter.
Perform checks for loose bolts and screws every one or two weeks. Test the brakes before each ride, especially when riding at high speeds. In winter, lightly clean the scooter after each ride and, in summer, do so at least once every two rides. Consider a deep clean monthly or bi-monthly.
The battery significantly impacts the scooter’s lifespan. Typically, a li-ion battery lasts 2 to 3 years, or 300 to 500 full charge cycles.
You can charge your scooter whenever its battery drops below 40%. However, with an older scooter that has only used 20% of its battery after a short ride, avoid fully recharging to prevent overcharging and extend the battery’s lifespan.

