In this guide, we will look at how to reset your electric scooter.

How to reset your electric scooter?
To reset your electric scooter, press and hold the power button for a few seconds, or until you hear a loud beep.
Alternatively, press the power button with the throttle and the brake lever and hold them all simultaneously until you hear the beep.
You can also reset your scooter via the mobile, app if the scooter has one.
If none of this works, do a factory reset – disconnect the battery or the controller from the scooter’s body, leave it for a few minutes, and reconnect it back in.
Unsurprisingly, the good old “Have you tried turning it off and on again” works pretty well with many scooter models.
Keep in mind that this method may not work with every model out there, as many manufacturers have removed the option to reset your scooter.
But it is the first thing you should try if you come into any trouble with your scooter.
Reset from the display
Usually, you will be able to reset your scooter directly from the display on the steering wheel. Tap and hold the power button for a few seconds until you either hear beeping sounds or see the display flashing at once.
This means the reset is done and you can turn your scooter on regularly.
If this doesn’t work, don’t panic. Some manufacturers have made this option a little more complicated.
With Xiaomi scooters, for example, you must hold the power button, the brake lever, and the throttle all at once, until you hear or see signs on the display that it reset.
Reset from the scooter app
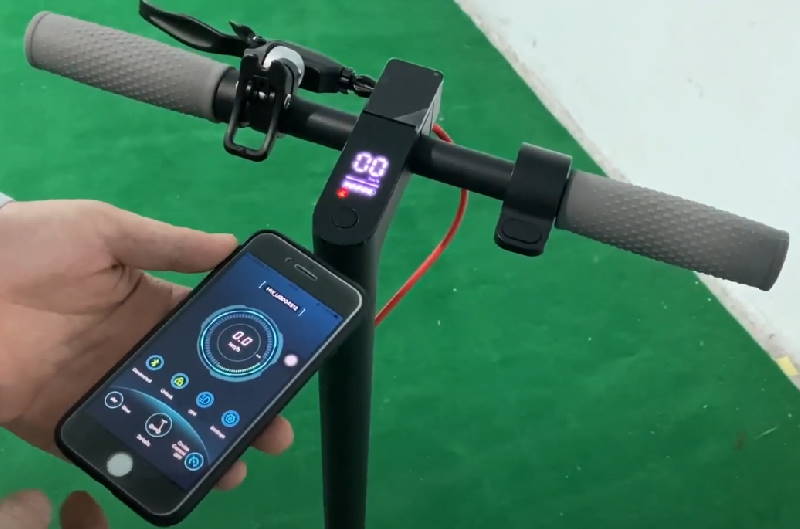
Another way to reset your scooter is to do it directly from the mobile app if your scooter supports one. Many brands provide this feature through their scooter apps to avoid unwanted hardware defects in case users try to reset their scooters manually.
You should find this feature in the main menu of your scooter app, usually marked with three dots at the top right corner. There, you should see a “factory reset” button or some version of it. Click this button and confirm the reset.
Keep in mind that while doing this, it is recommended that you have at least a half-full battery.
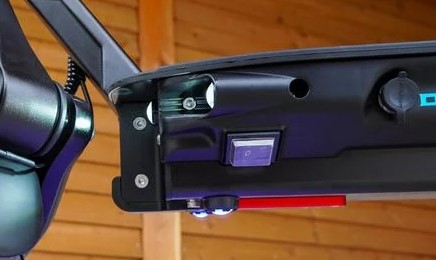
If none of the above two methods are supported on your scooter version, there is one final thing you can try before getting your hands dirty with the scooter’s electronics.
Check if your scooter has a “power on/off” button at the side of the deck, right next to the charging port. Some brands put the main switch button here so it can be connected directly to the battery, allowing you to have an instant switch-off shortcut in case something goes wrong with your scooter.
Click this button to turn the battery off, wait a few minutes, and then turn it back on again.
If this doesn’t work as well, or the option isn’t even there in the first place, then the next thing to try is a hardware reset.
Hardware reset
As the name suggests, a hardware reset is a direct way to reset your electric scooter by dismantling the main electronic parts and then reconnecting them.
This method should only be done if:
- everything from the above list fails
- you have some experience with electronics from before
- know exactly what you’re doing
Keep in mind that this procedure is likely to void your scooter warranty.
Remove the battery
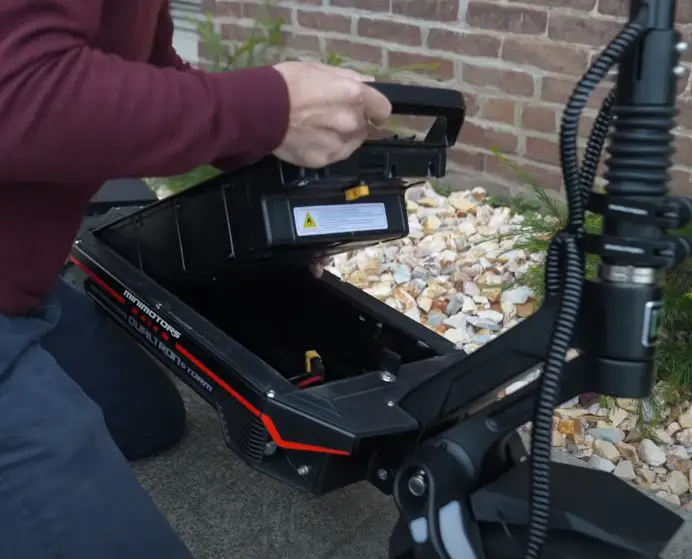
The first and safest way to make a hardware reset of your scooter is to simply remove the battery, and then put it back in after a few minutes. This is the equivalent of removing the battery from your phone after the screen freezes like it used to happen in the early 2000s.
There are many electric scooters with removable batteries today, so if you have one of those – this should be an easy task.
The battery is almost always stored either below the deck or inside the stem. In fact, in 90% of scooters, it should be below the deck. To remove it, you’ll have to pick up a screwdriver and some wrench tools, locate which screws keep the deck sealed, and remove them to open up the deck.
If the battery is in the stem, you would probably have to remove the steering wheel to open it up.
Once you’ve opened it up, you’ve got to disconnect the wires keeping the battery attached to the rest of the electronics, and remove the battery from its bed. Leave it out like that for a few minutes, and then reconnect it back the way it was.
Disconnect the controller
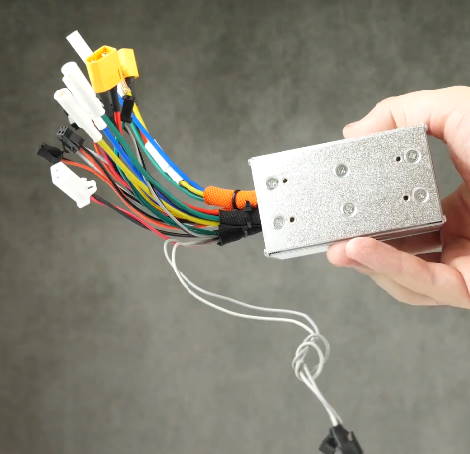
If removing and reconnecting the battery didn’t work, it’s time to go a step further and disconnect the controller as well.
The controller is a simple electric circuit board that connects the battery with the motor and the controls. It regulates the output of power that comes from the battery so it doesn’t overheat and burn the rest of the scooter’s electric parts. It resembles a small steel box with a dozen wires hanging from its side.
If you’ve got a power issue, like the scooter not starting even if the battery is full, it will most usually be a problem with a faulty controller.
This small device is located right next to the battery, so getting to it is done the same way as in the previous step.
If this didn’t help as well, and the issue still isn’t resolved, then it’s probably time to take your scooter to a repair shop. Resetting the scooter just wouldn’t do any good anymore.
Is there a simpler way?
Hard resetting your scooter should only be left as a last-resort troubleshooting method. Most models, especially when overheated, just need a few minutes of rest before you can turn them on and ride them again.
You can try a few other steps before reaching for the reset button.
Plug the charger in
If you’re still at home when you stumbled upon this issue, you should first try and boot the scooter up with the charger plugged in. If the battery is old and worn off, it may need a little bit of a kick to boot up, and plugging it directly into an electric socket is the best way to see if it still works.
This may not sound like a foolproof solution, and it doesn’t work if you’ve already left your home, but it is a simple step to try before reaching for the screwdriver and dismantling the whole scooter.
Kick-start your scooter
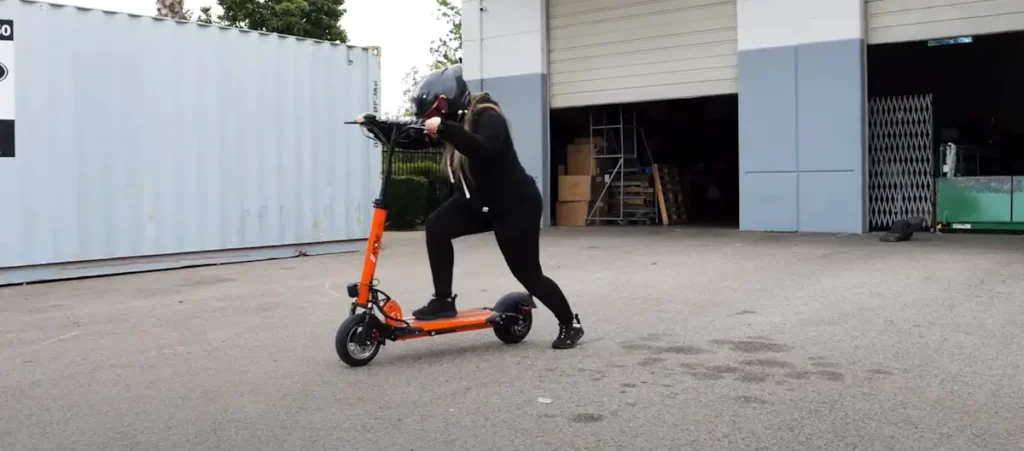
If you don’t have your charger in hand, another way to try and boot up a faulty scooter is to kick-start it.
Many e-scooters today require a kick-start by default, but even if your model doesn’t, you can still use this method to try and boot it up when dealing with booting-up issues.
The technique is simple. You push the scooter forward while it’s turned off, ride it like a normal non-electric scooter for a couple of yards, and then press the throttle to start the motor.
Go into a lower gear
Higher riding gear means higher power, but also a higher demand from the scooter’s battery. And if the battery is low, there isn’t much power it can provide. Shifting into a lower gear will make the boot-up and acceleration of the scooter much less demanding, allowing you to finish your ride home at the small price of a slower speed.


