While waterproofing your scooter is a very smart thing to do, if you live in an area with a lot of rain or snow, I would recommend simply buying a waterproof electric scooter. That will save you a lot of potential headaches.
That said, if you’re not satisfied with the water resistance of your scooter, keep reading.
-
 Find out your electric scooter’s IP ratingRisk: freeCost: freeDifficulty: lowThe most important thing to know about waterproofing your electric scooter is its IP rating. This information often comes in the manual.
 -
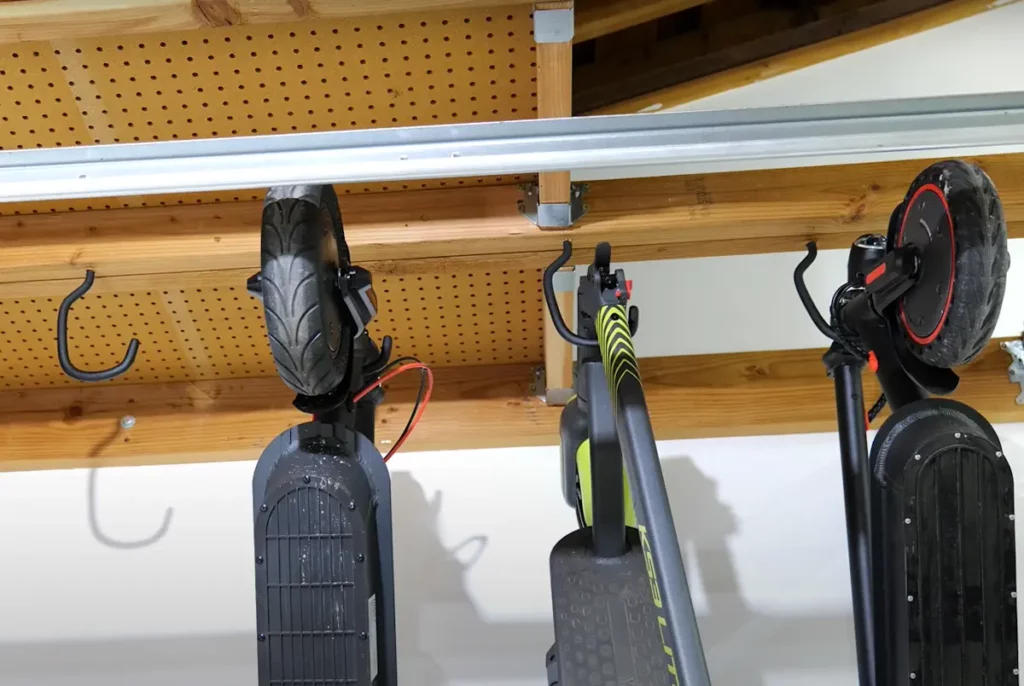
 Dry your scooterRisk: freeCost: freeDifficulty: lowNever leave your scooter wet if you can help it. Wipe off any water drops off it, especially if you’re storing it.
 -
 Don’t fold the scooter when wetRisk: freeCost: freeDifficulty: lowWhen the scooter is wet, folding it can lead to water running down the stem and potentially harming the LED screen or throttle.
 -
 Get a waterproof electric scooter coverRisk: freeCost: $20-$50Difficulty: lowYou can get a fully waterproof cover for your scooter that will not set you back that much.
 -
 Duct tape the gaps in the deckRisk: freeCost: $5-$10Difficulty: lowDuct tape is a fast and affordable way to waterproof your scooter without voiding the warranty.
 -
 Put o-rings around non-sealed screws and holes with wires or cablesRisk: freeCost: $5-$10Difficulty: lowJust place a suitable o-ring around wires in holes.
 -
 Waterproof with silicone or LoctiteRisk: mediumCost: $10-$20Difficulty: mediumUse Loctite or superglue for safer scooter waterproofing.
 -
 Extend the mudguardRisk: freeCost: $5-$15Difficulty: lowThis is a simple, functional, and best of all, free way to stop mud and snow from ruining your clothes!
 -
 Waterproof the connectorsRisk: moderateCost: $10-$20Difficulty: mediumTo enhance water resistance in connectors and solders, use a silicone-based conformal coating to protect them.
 -
 Grease the motor wheel axlesRisk: freeCost: $5-$10Difficulty: lowApply some thick grease to the motor wheel axle.
 -
 Waterproof the electronicsRisk: highCost: $20-$50Difficulty: highIt requires DIY skills and knowledge of the scooter’s internals.
In this guide, we will see all the best tips on how to waterproof your electric scooter, ranging from cheap and risk-free methods to modifying your scooter’s internal parts.
Find out your electric scooter’s IP rating
The IP rating is presented as “IP [first digit] [second digit]”. We focus on the second digit, for example, “4” in “IP54”. The higher the second digit, the better the water resistance. The first digit signifies protection against solid particles (dust, dirt, etc), so it’s not too relevant for water protection.
Here is a handy table of IP rating descriptions to simplify this vital information.
| IP Rating | Description |
|---|---|
| IPX4 / IP44 / IP54 | Resistant to water spray and splashes from any direction |
| IPX5 / IP55 / IP65 | Resistant to a sustained, low-pressure water jet spray from any direction |
| IPX6 / IP56 / IP66 | Resistant to high-pressure water jets and heavy sprays from any direction |
| IPX7 / IP57 / IP67 | Protected from immersion in a body of water between 15 cm and 1 m in depth for up to 1 minute |
Dry your scooter

Never leave your scooter wet if you can help it. Wipe off any water drops off it, especially if you’re storing it.
Even if you never ride your scooter through rain, it can still get rusty from the humidity in the air, so it’s important to keep it as dry as possible.
Don’t use a hairdryer – it may push some water drops inside the electronics!
Use a plain cloth, or use a wet-dry vacuum cleaner if there is a lot of water. That way, you will make sure no water goes inside of it.
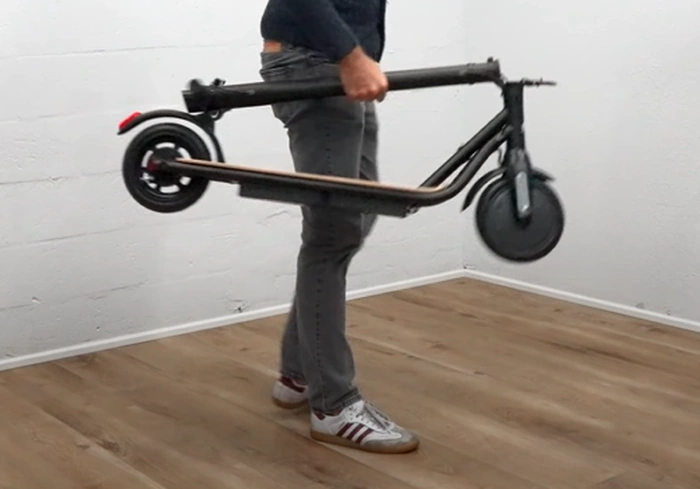
Don’t fold the scooter when wet
When folding scooters, the handlebar tilts down, making the stem higher than the handlebar.
When the scooter is wet, this can lead to water running down the stem and potentially harming the LED screen or throttle.
Get a waterproof electric scooter cover
You can get a fully waterproof cover for your scooter that will not set you back that much. In fact, it will only cost you a few dollars.
This is more for protecting your scooter while parked or stored. You will not be able to ride in the rain cover without difficulties. Check out my guide on scooter accessories for some inexpensive electric scooter rain covers.
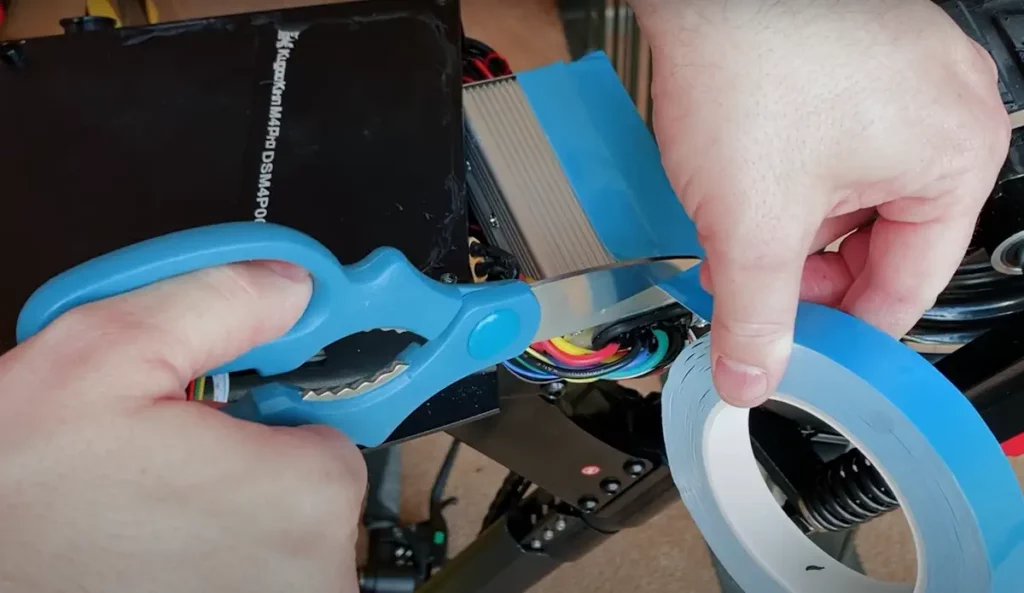
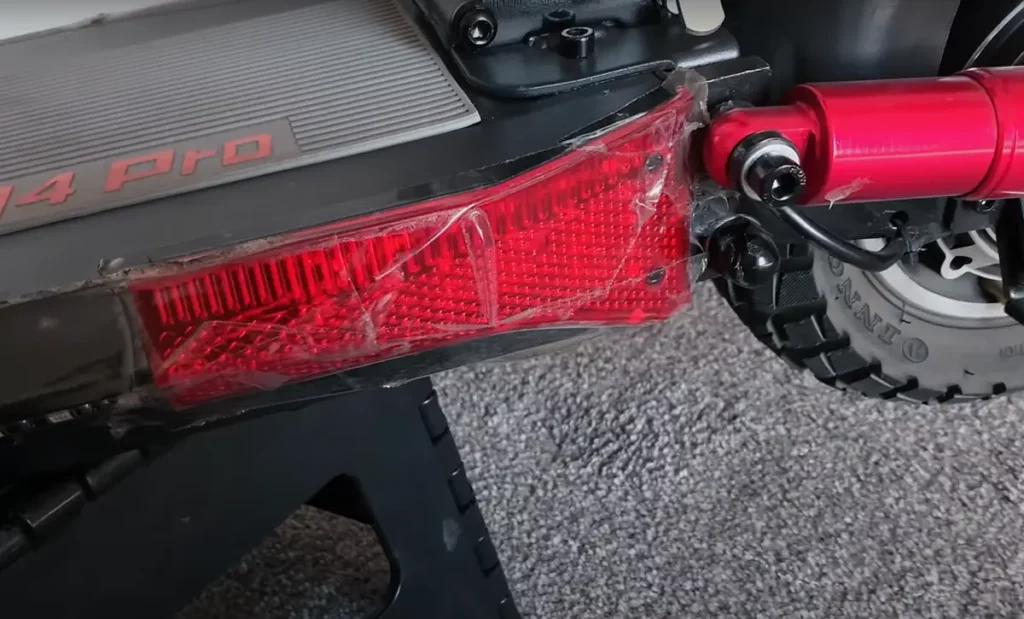
Duct tape the gaps in the deck
Duct tape is a fast and affordable way to waterproof your scooter without voiding the warranty. Use it for about 80% of the waterproofing, especially for scooters like Speedway 4 and Dualtron Thunder, where exposed wires are vulnerable.
This DIY solution is easily removable and worth revisiting every few months, but avoid covering exhaust holes. Don’t forget to duck tape the power button and the LED screen of the scooter.
One more thing you can try is carrying duct tape for sealing the charging port. This is a smart move, to prevent water damage, particularly when expecting heavy rain.
Better safe than sorry.
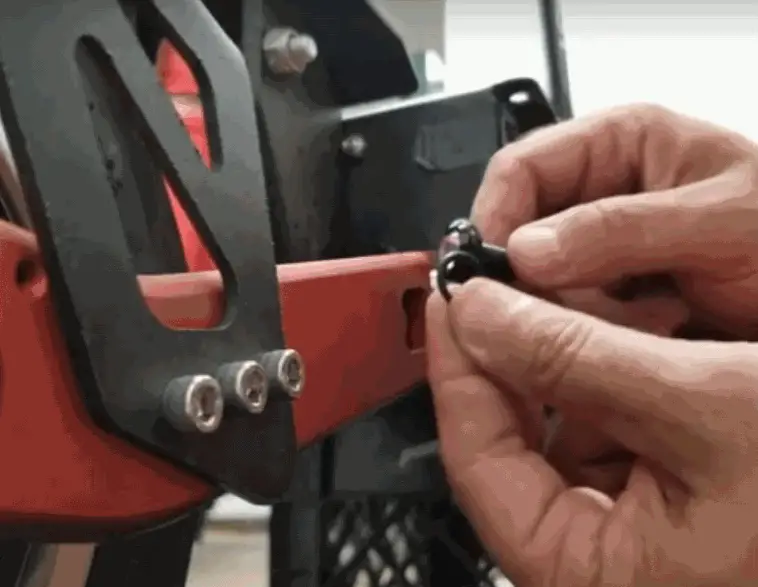
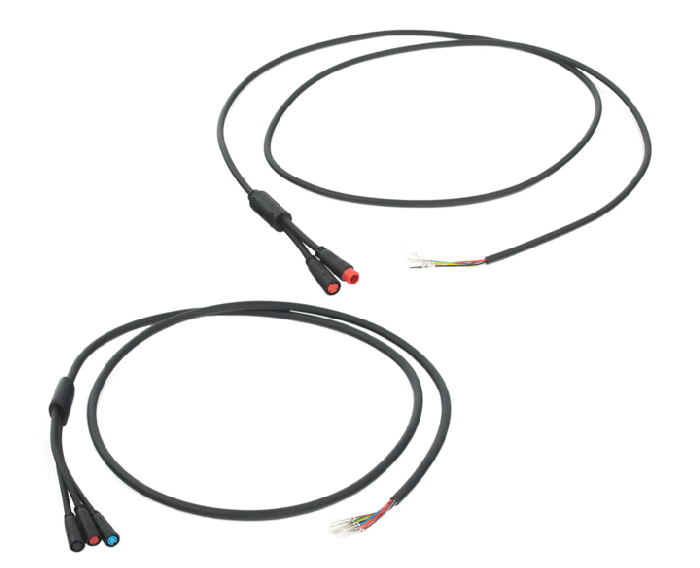
Put o-rings around non-sealed screws and holes with wires or cables

I have noticed that water tends to get in through some holes that have wires or cables going through.
Try the following to prevent that:
- Open the scooter deck.
- Disassemble as needed.
- Place a suitable o-ring around wires in holes.
- Reassemble and secure screws.
Waterproof with silicone or Loctite
Many scooters have small, non-functional holes throughout their deck, stem, or around the handlebars.
The tricky part is determining whether the hole is non-functional, or is there for a reason. You can do a little test if you’re not sure about a particular hole:
- Put the deck of the scooter on a taller object, so that the wheels are off the ground.
- Press the throttle.
- If there’s air coming either in or out of that hole, that’s an important hole and you should not seal it.
- If there’s no air coming in or out, you can probably safely fill that hole with silicone.
After identifying the appropriate holes for applying silicone, follow these steps:
- Access the deck: Open the scooter’s deck.
- Silicone sealant: Seal openings and gaps with silicone.
- Tighten screws: Ensure screw security.
- Attach kickstand: Reattach the kickstand.
- Inspect and seal: Check cable entry points and seal.
- Horn holes: Seal horn holes with strong tape.
- Final check: Review all seals for effectiveness.
Also, you can watch the video below for guidance.
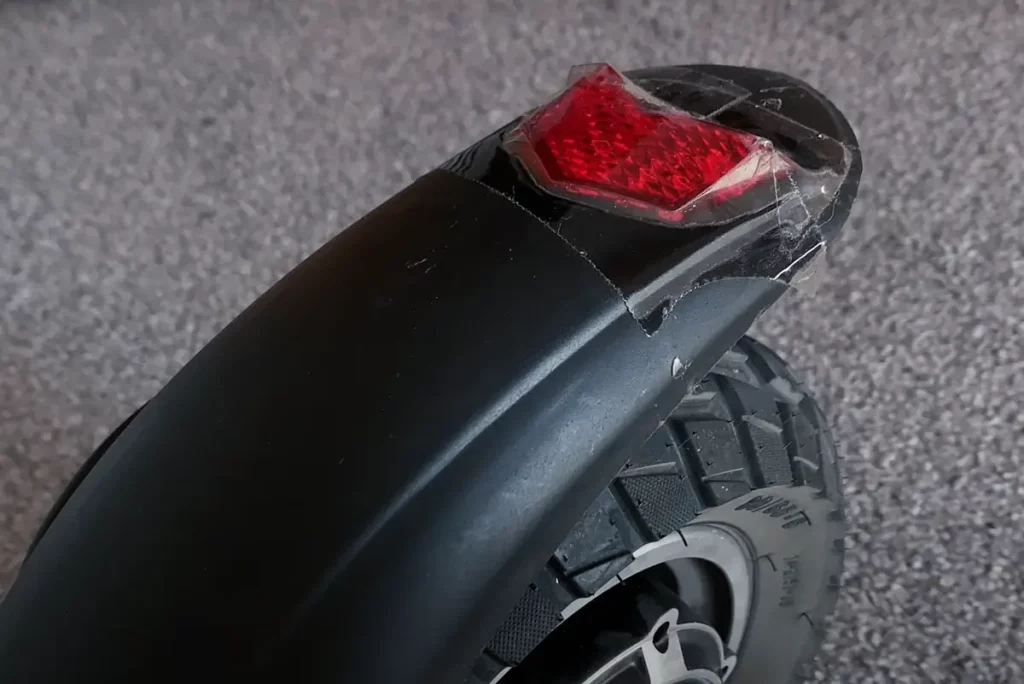
Extend the mudguard
Some electric scooters have shorter mudguards than they need to have. In wet weather, I used to get sprayed with mud, dirt, and snow all over my legs. That is, until I extended my mudguard with some duct tape (the miracle cure for every household problem).
I simply added a few extra centimeters of rear mudguard by constructing it out of duct tape. A simple, functional, and best of all, free way to stop mud and snow from ruining your clothes!
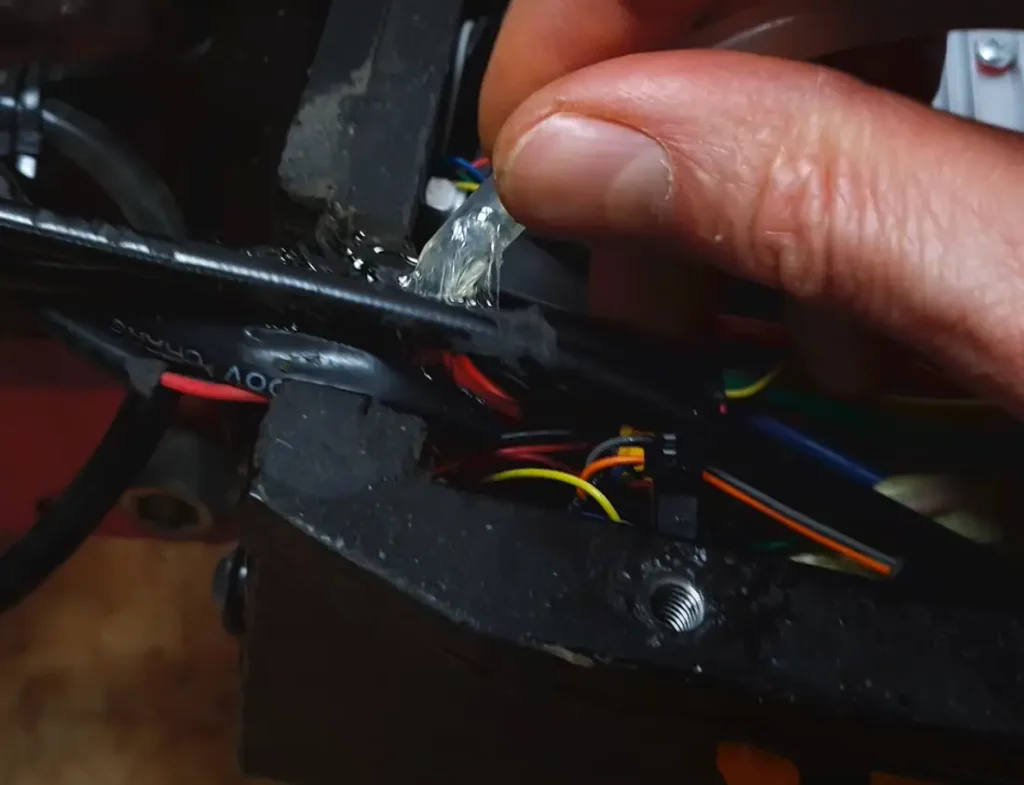
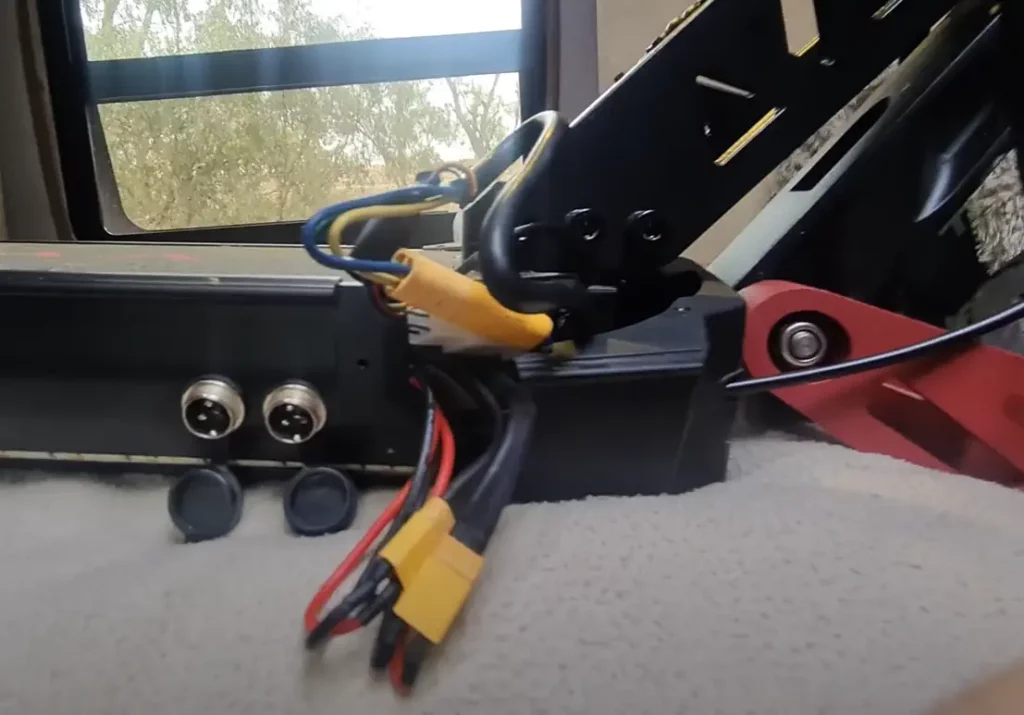
Waterproof the connectors
To enhance water resistance in connectors and solders, use a silicone-based conformal coating to protect them.
Waterproofing the connectors is a simple process:
- Purchase the silicone conformal coating solution.
- Apply it to the necessary parts.
- Allow it to dry for at least 12 hours.
However, keep in mind that this requires you opening up your scooter, and that always presents risks, including voiding your warranty.
For a visual guide, watch a similar process in this video on how to apply conformal coating to the connectors.
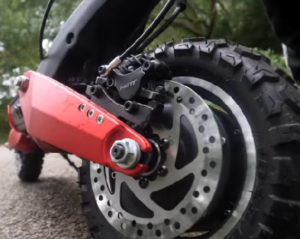
Grease the motor wheel axles
Apply some thick grease to the motor wheel axle.
Your scooter can have motors in the front wheel, the back wheel, or both. Apply the grease on all motors.
Waterproof the electronics
Taking waterproofing a step further can mean protecting the electronics inside of your scooter.
However, I don’t recommend this method. It requires DIY skills and knowledge of the scooter’s internals. Also, again, there’s a risk of something going wrong, and you losing the warranty.
Plus, the effectiveness of this method is hard to measure.
So, only do it as a last resort.
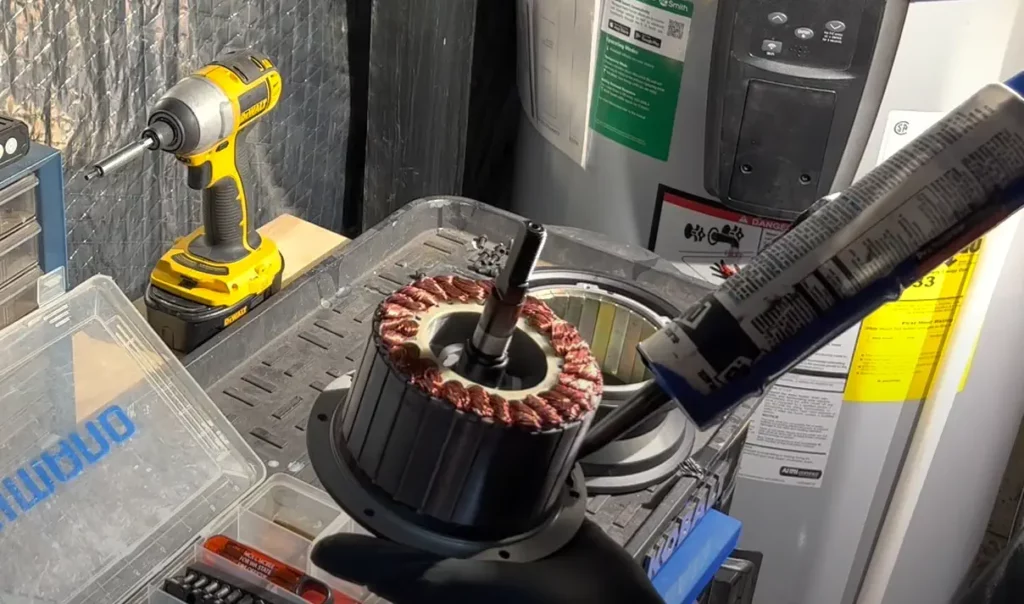
However, if you’re determined to waterproof the scooter’s electronic parts, you can start with sealing the motor:
- Gather your tools: you will need Allen keys and a mini crowbar.
- Remove screws: Use the Allen keys to remove the six screws on each side of the motor.
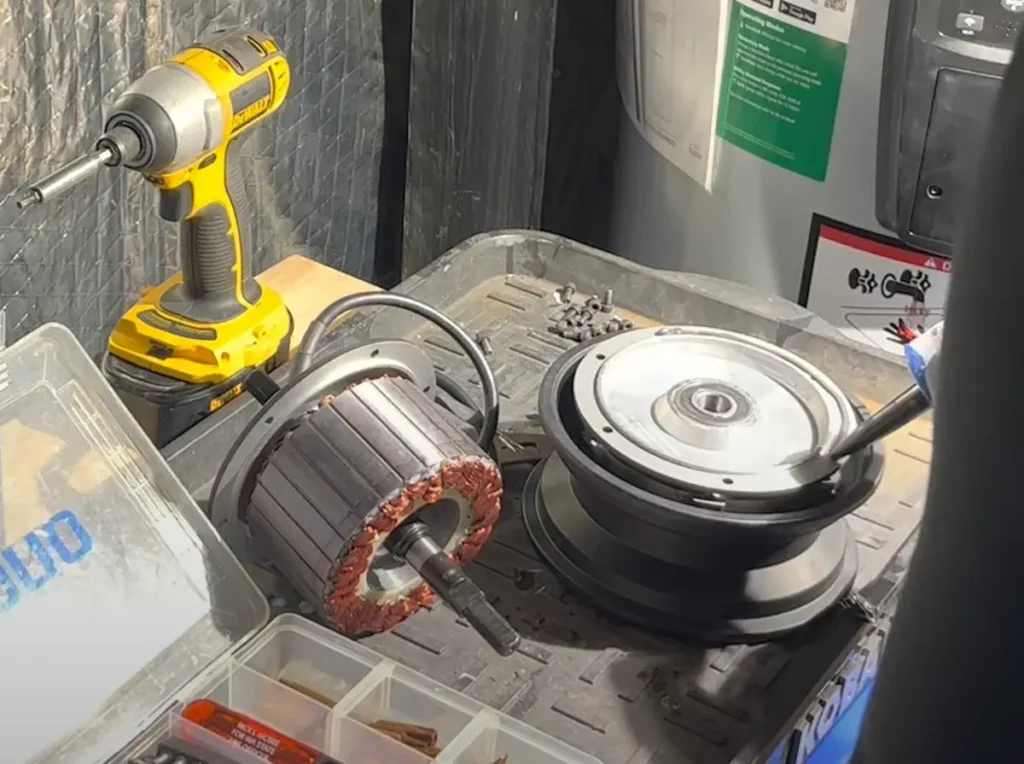
- Careful separation: Gently separate the motor halves using the mini crowbar.
- Inspect inside: Examine the interior of the motor for any issues or debris.
- Seal the covers: Apply all-purpose silicone sealant around the edges of both motor covers.
- Reassemble: Carefully put the covers back on, ensuring the correct orientation.
- Screw back together: Start and secure the screws, checking their tension.
Conclusion
Here is a recap of the tips on how to waterproof your electric scooter one more time:
- Find out your electric scooter’s IP rating
- Dry your scooter
- Don’t fold the scooter when wet
- Get a waterproof electric scooter cover
- Duct tape the gaps in the deck
- Put o-rings around non-sealed screws and holes with wires or cables
- Waterproof with silicone or Loctite
- Extend the mudguard
- Waterproof the connectors
- Grease the motor wheel axles
- Waterproof the electronics


