EScooterNerds
We nerd out about electric scooters
MUST READS
Psst… how about some Scooter Secrets?
50.000+ scooterists get amazing discounts, little-known tips, and a lot of great scooter stuff every week. Join them.

FEATURED ON
WHAT WE DO
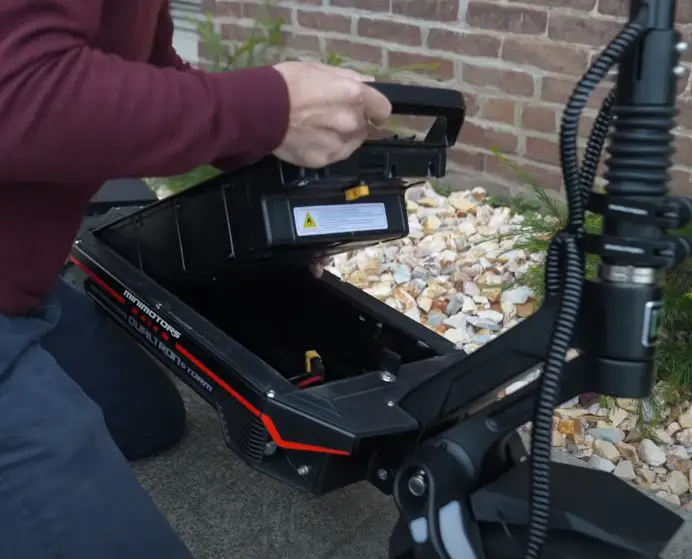
Reviews
We test electric scooters, but we take it even a step further – we interview people that have owned your favorite scooters! Their long-term first-hand experience is far more valuable than a few hours of testing!
Video
These guides and articles would tell only a part of the story about electric scooters and the revolution they’re creating without our Youtube channel. Check it out for detailed, informative, and a little fun videos of electric scooters!
Guides
Giving you advice when you’re buying your first electric scooter is where we shine, but we don’t just leave you there. Tips, tricks, guides, maintenance, little-known advice – we got you covered, every step of the way!
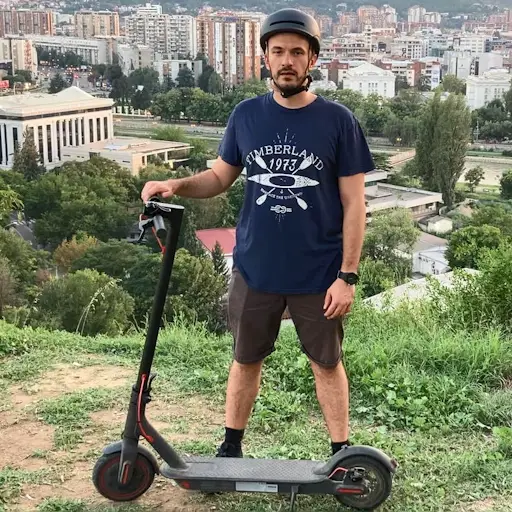
Hi, Matt here!
I’m the guy behind EScooterNerds. I live and breathe electric scooters every day, and I’m excited about sharing my passion and findings. My goal is to help you get the absolutely best electric scooter for your own unique needs, and use it effectively and for a long time.
OUR PARTNERS

FIND US ON SOCIAL MEDIA
BUYING YOUR FIRST SCOOTER? START HERE
Buyer’s Guide
Buying your first electric scooter can be tricky. There are a lot of traps, gotchas, and fine print you need to be aware of. The articles in our Buyer’s Guide take care of all that, so that you don’t have to.

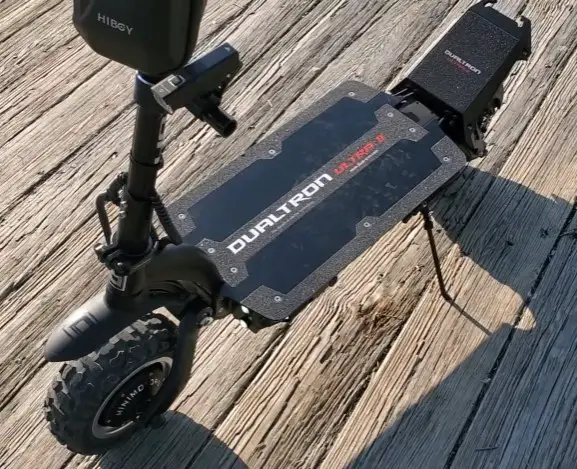
Reviews
Got a scooter in mind? That’s a great start! Still, make sure to check out our hands-on reviews and owner interviews… you may become even more excited about your choice, but you may also learn something that will change your mind.

Legal Guide
Nobody likes the legal fine print around electric scooters. Yet, nothing can spoil the joy of owning and riding an amazing scooter like a legal misstep. Make sure to go through the guides in our Legal category and be prepared for everything.

Gear and Accessories
You may already know that you shouldn’t ride any electric scooter without the proper gear. And besides safety gear, there are a ton of other customizations that you can apply to your scooter to make it even more fun. Helmets, accessories, locks, upgrades – we cover it all.
ALREADY OWN A SCOOTER? CONTINUE HERE
Tips and Guides
One of the reasons why electric scooters are such a blast is because there’s simply a ton to learn about them! We’ve been nerding out about scooters for years now, so we know every trick in the book.
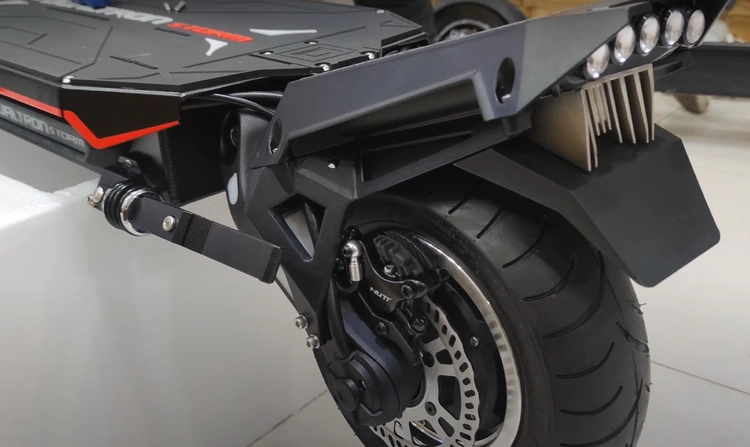
Performance
If you’ve owned your electric scooter for a while now, you’re probably thinking of one thing and one thing only – how to make it faster! Luckily for you, we have an entire category dedicated to speed hacks, removing speed limiters, and just making your scooter perform better.
Features
Many people own electric scooters for years and yet they don’t know a single thing about their features. That’s a real shame. Don’t be one of those people – learn everything about every single feature of your electric scooter here!
LOOKING FOR SOMETHING ELSE?
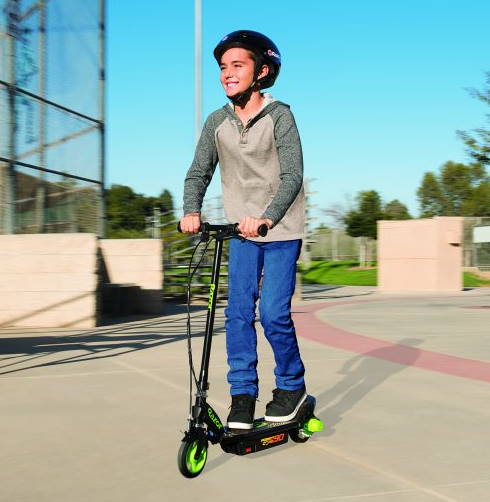
Electric Scooters For Kids
Electric scooters for adults are amazing, but that’s no reason to not let the young ones have a bit of fun as well. See the guides in the scooters for kids category if you’re considering bringing a smile to the face of a child.
Electric Vehicles
Electric scooters are part of the much broader world of electric vehicles. We wouldn’t be painting a complete picture if we didn’t cover the most important electric vehicle topics related to scooters.